Project Type:
Personal Project | Level Design
Story Synopsis:
This level was designed to be a mission that a newer player would be playing, in some larger sci-fi game. The idea is that the player has just landed their personal starship onto this space frigate. This frigate, operated by droids, is on its way to a foreign planet to deliver arms and other illegal items to the enemy. It is the player’s responsibility to break into this ship, and shoot their way to the cockpit, where the player can then stop the route the ship is on, before it is too late…
Software Used:
- Unreal Engine 4 – UE4 was used as the game engine. I used blueprints to edit the puzzle asset pack, as well as to create a few of my own mechanics.
- Adobe Illustrator and Photoshop– These two softwares were used to create the digital layouts, reference board, and mood board for the project.
- Maya – This software was used to create some proxy assets within the whiteboxing phase, including the ship, health pickup, ammo pickup, etc.
Gameplay:
Responsibilities:
- Hand sketched individual spaces.
- Implemented an FPS asset pack for gameplay.
- Created a detailed layout, documenting sizes of the rooms, where enemies would be located, as well as the overall intent of each of the rooms.
- Whiteboxed the frigate to determine how the combat interactions would occur.
- Iterated on all elements of the whitebox, including adjusting the sizes and shapes of each of the rooms, lighting, placement of objects, etc.
- Added art into the whitebox, transforming the space from whitebox to fully arted out.
- Added in proper lighting, post processing, fog, etc.
- Optimized the lighting to be less expensive.
Inspirations:
- Star Wars – Star Wars Jedi: Fallen Order looks really amazing. The aesthetics of the Imperial Headquarters was a real inspiration for this project. The use of dark architecture with lighter lighting helped me understand how I could bring the space together. I also drew inspiration from the films, specifically Episode III, where Anakin and Obi-Wan are saving the Chancellor and fighting Count Dooku. The architecture within this scene, combined with the cockpit of General Grievous’s ship, helped bring the spaces together.
- Destiny 2 – Space and Sci-Fi in general have a certain feel to them, and the way Destiny 2 set dresses their combat spaces were a huge inspiration for this project.
- Halo – This series helped me create each of the individual rooms, as I was able to draw from a large amount of concept art from this series.
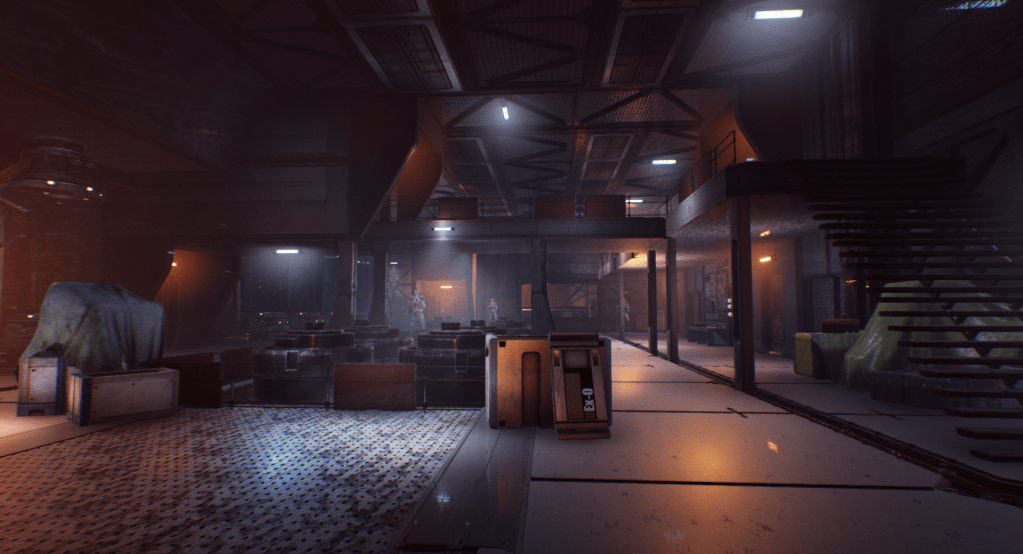
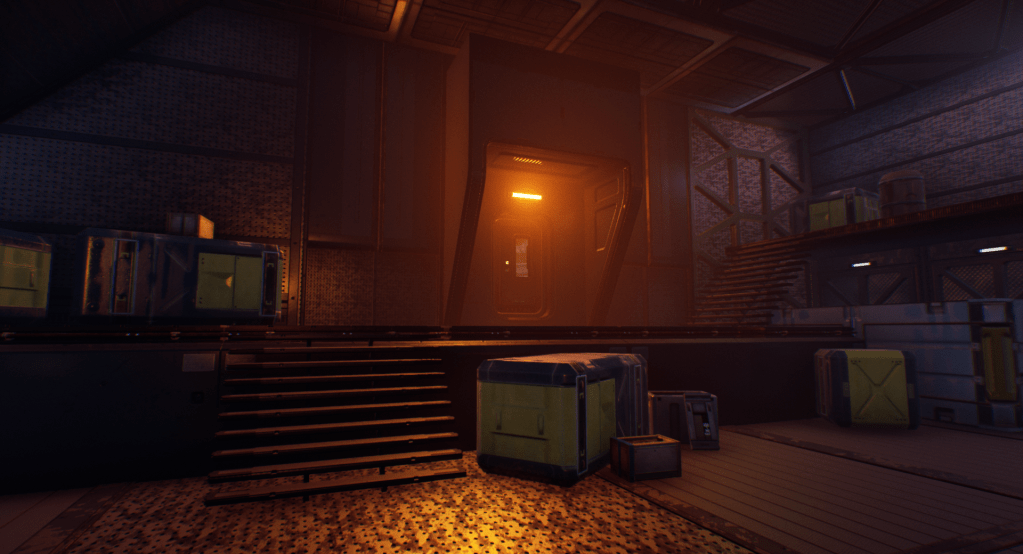
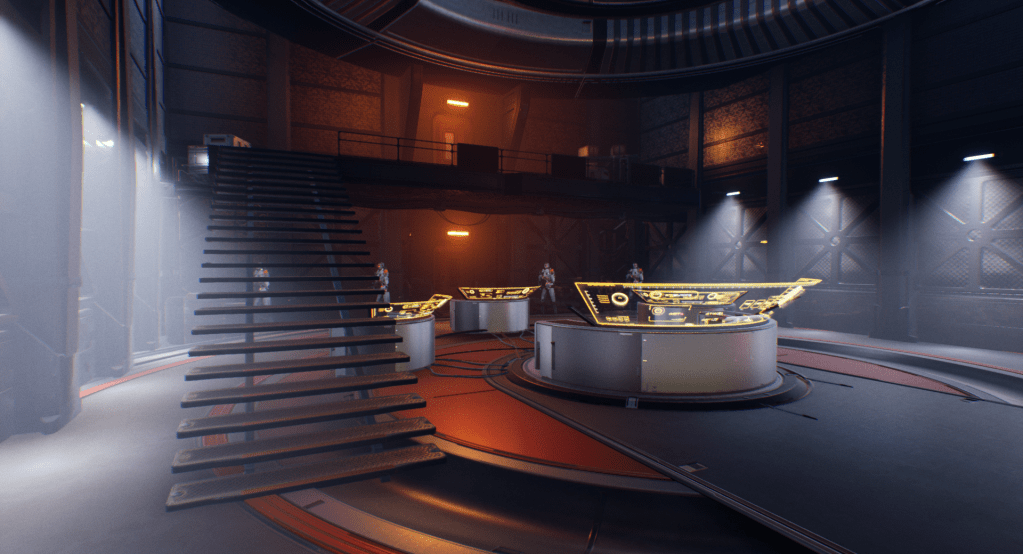
A Few Images:


The Process:
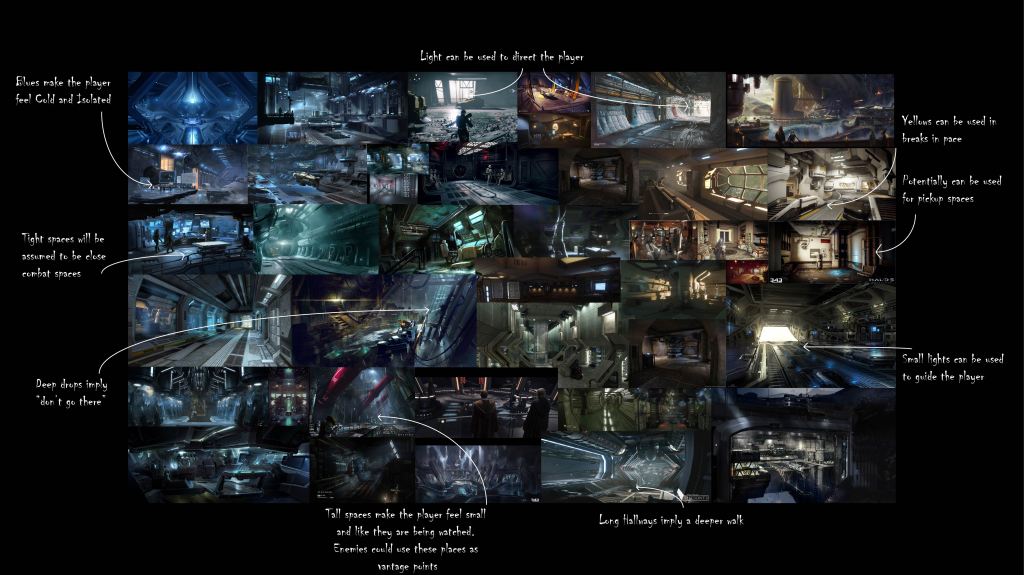
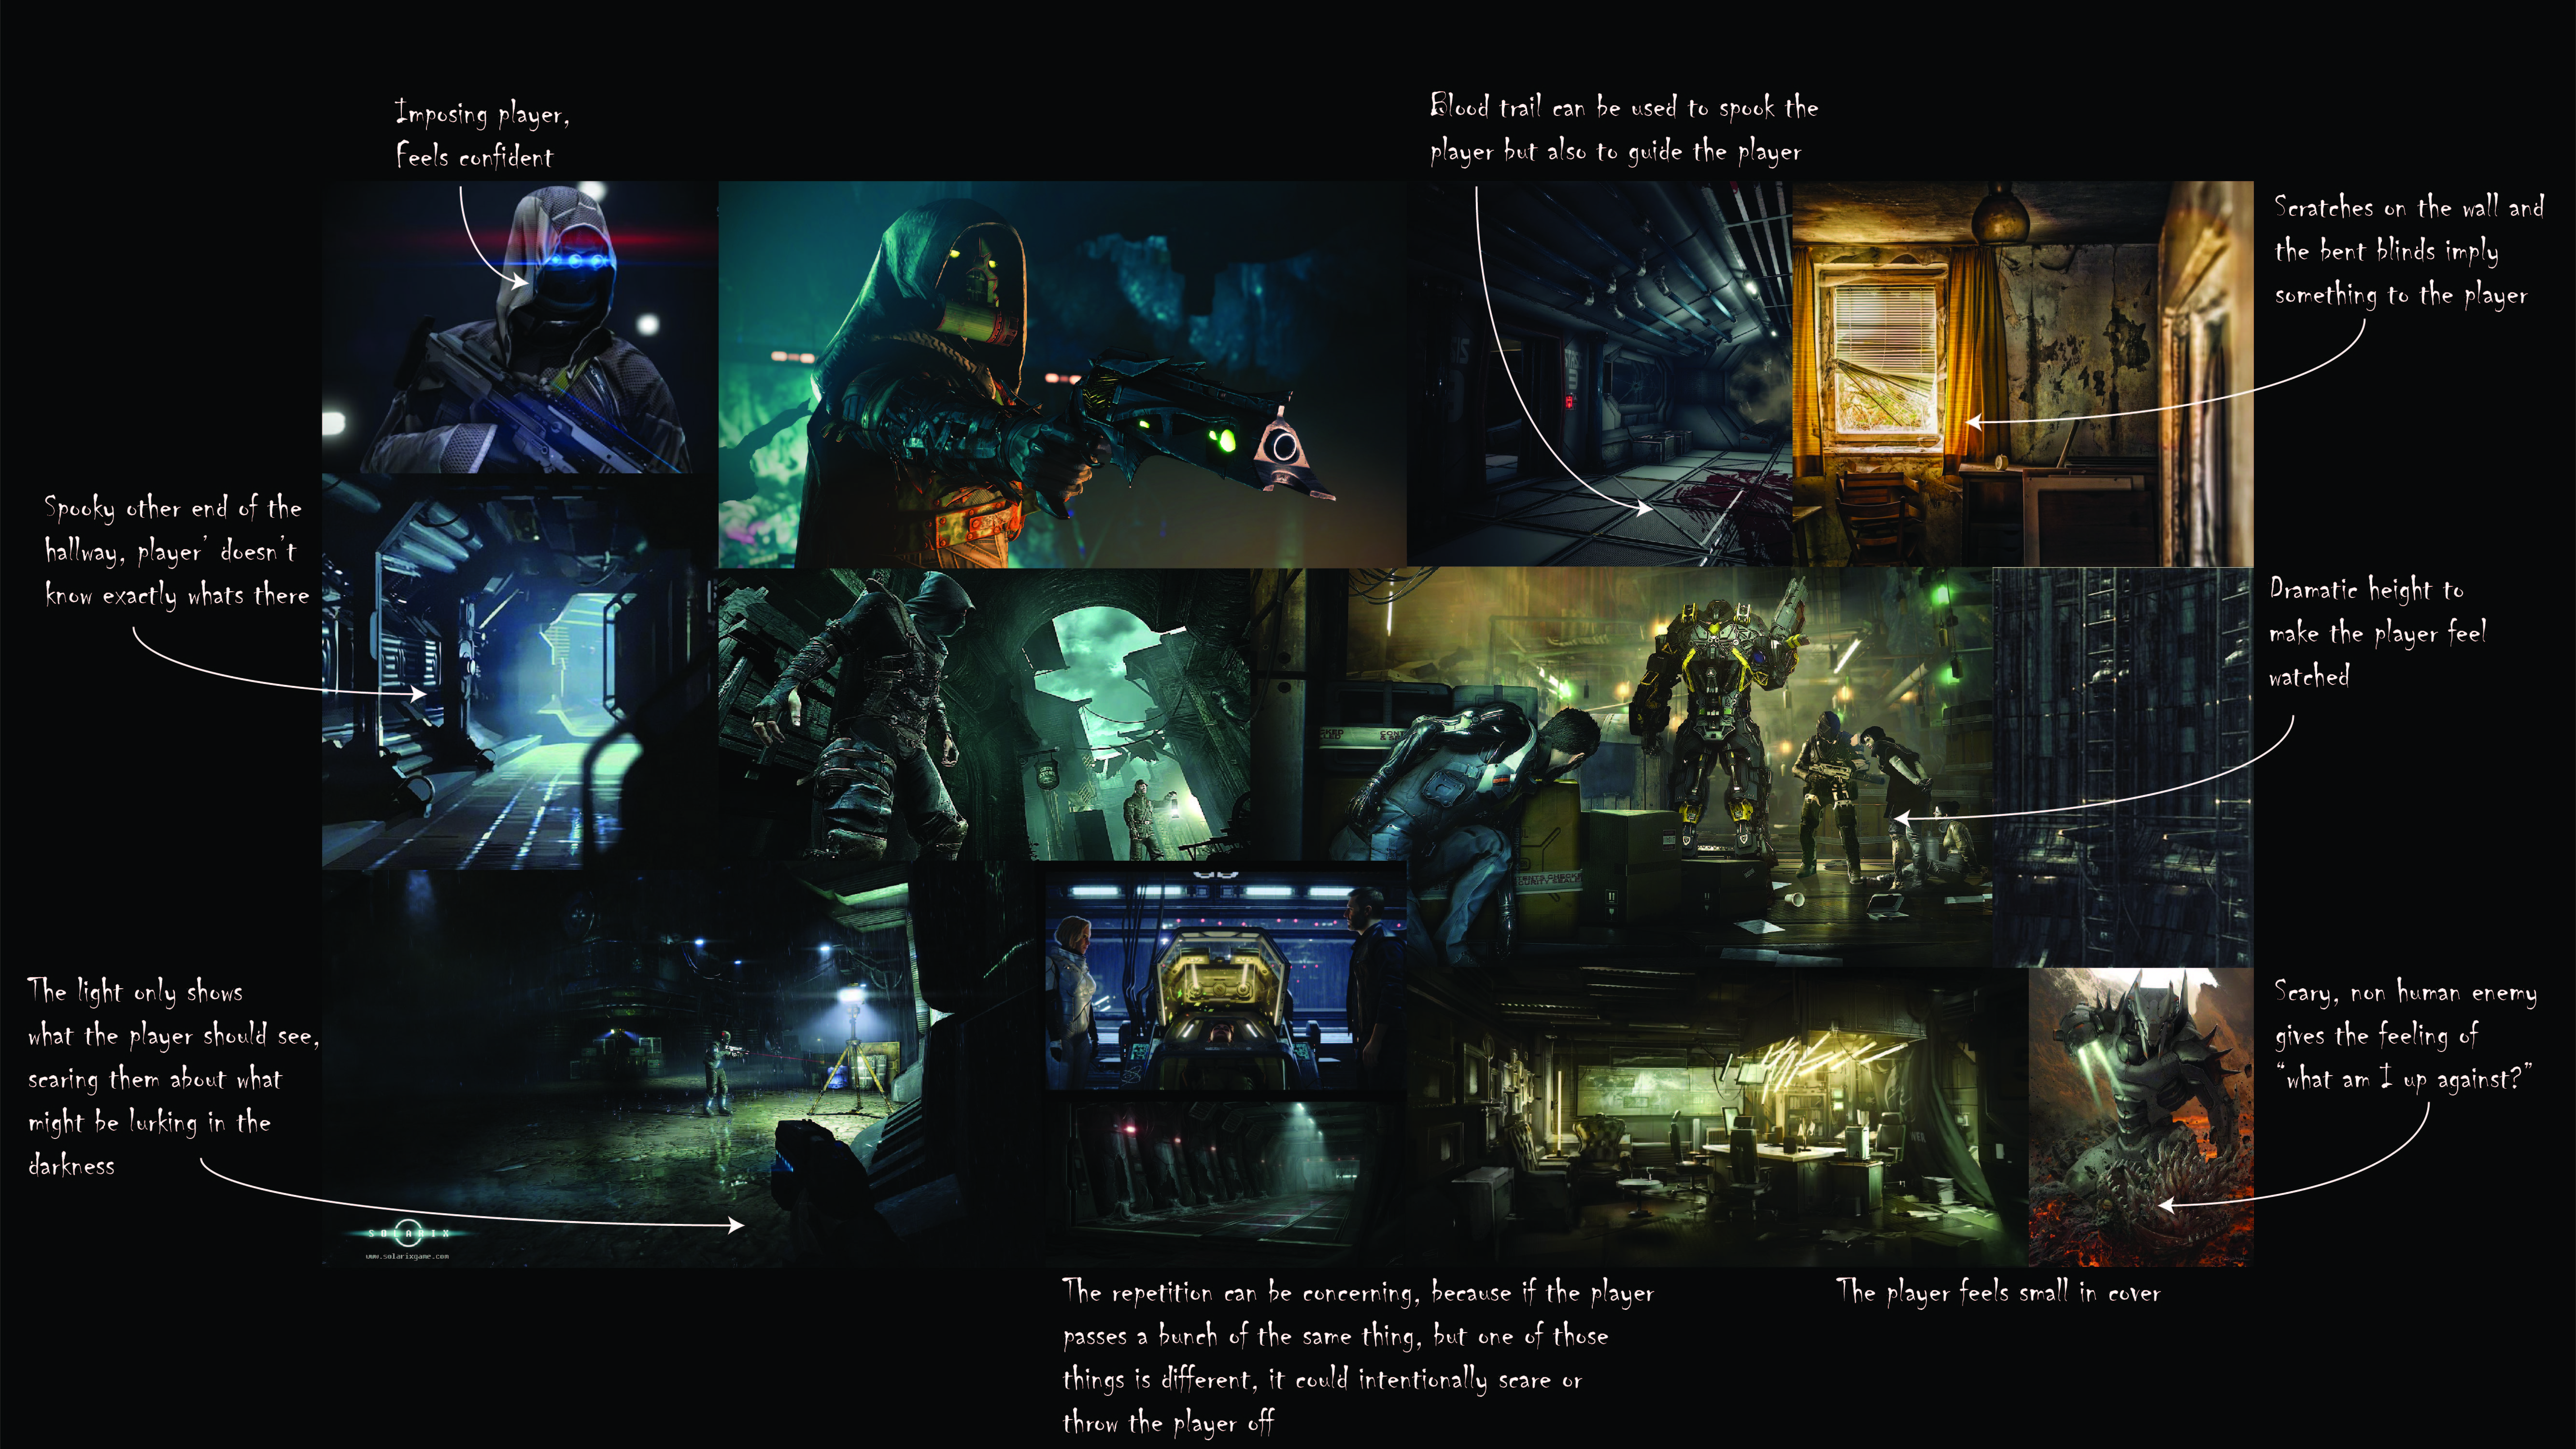
Step 1: Creation of the Reference Board
The reference board helped me bring together my ideas in the initial phase. Early on, I had already determined that I wanted this to be somewhat like a testing facility, similar to those in Portal. Each room was supposed to either teach or test the player a new idea or combination of new ideas. Because of this, Portal was the biggest inspiration for me for this project. This series is my personal favorite puzzle series ever, so it was nice to be able to learn from such an amazing series, and create a level in a similar style and layout. Q.U.B.E was used mainly as an aesthetic reference (mainly the walls and floors), but some of the mechanics were also inspired from this series. The imagery on the bottom left and bottom right were both artistic and real world imagery that helped me set the tone and mood of my level early on.
Step 2: Creation of the Mood Board
I started this process by hand drawing some basic puzzle concepts. I started with the simple pick up box, bring box to trigger, have trigger open door. From there, I started to expand my ideas. This entire step was done simultaneously while I was playing around with the asset pack I used, allowing me to get fresh ideas. Once I had a few ideas sketched out, I created them in Engine, and iterated on them based on how fun they were and what I needed to get out of them. These action blocks also helped me realize that I needed to create some of my own blueprints to complement the asset pack I chose. This step was crucial, because creating my own mechanics really helped expand the potential within the project.
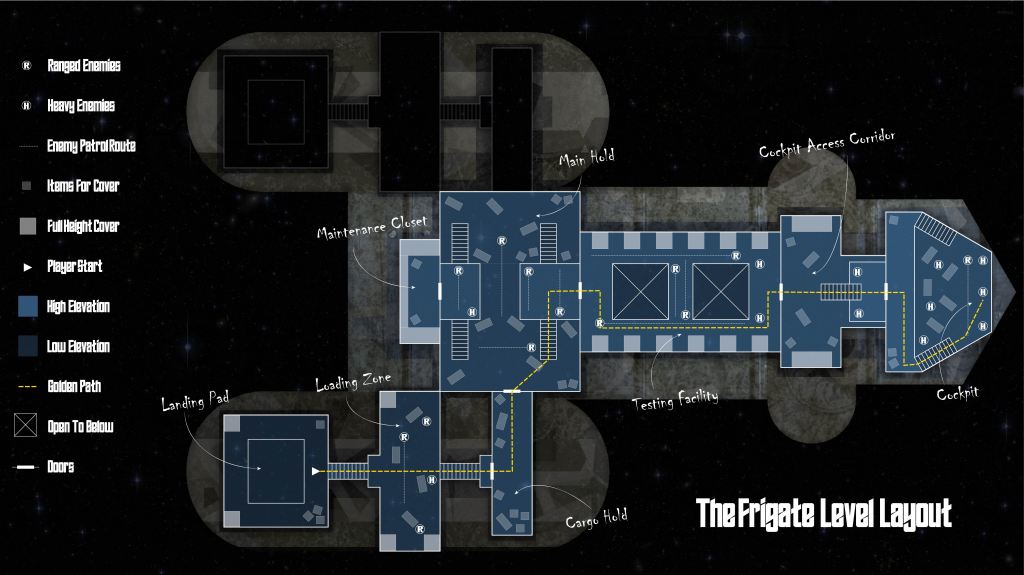
Step 3: Creation of the Layout
I had a really fun time with this step. What I decided to do this time around was to take regular 8 1/2 x 11 paper, and cut it in half, so I had some small pieces to work with. I then drew a single room on each of the pages. The only information that was important to me in these drawings was size, shape, and location of entrances and exits. Once I had a good 12 or so rooms, I started lining up doorways, and started messing around with orientation. Because I knew this would be a spaceship of some kind, I wanted to make sure that the drawings lined up to look something like a spaceship.
Once I had the general layout of the ship on paper, it was time to bring it into Illustrator and Photoshop to start making it more cohesive. All of the linework and text was created and edited in Illustrator, while the colors of the ship and all of the fill work was done in Photoshop.
While putting this layout together, I was thinking of three major ideas. The first, was that I knew the level would be linear. I wanted to make sure I started the player in a reasonable place to enter a ship, like a hangar, and end where in the control room, or cockpit. The second idea was that I wanted to be thinking about full height vs half height cover early on. This would help me layout the combats, and where I wanted to be guiding the player. The last idea was difficulty. I wanted to make sure that the player was not immediately thrown into the worst of it, which is why there was so much cover provided early on in the first combat space. I also wanted there to be more enemies in the middle and end in comparison to the beginning.
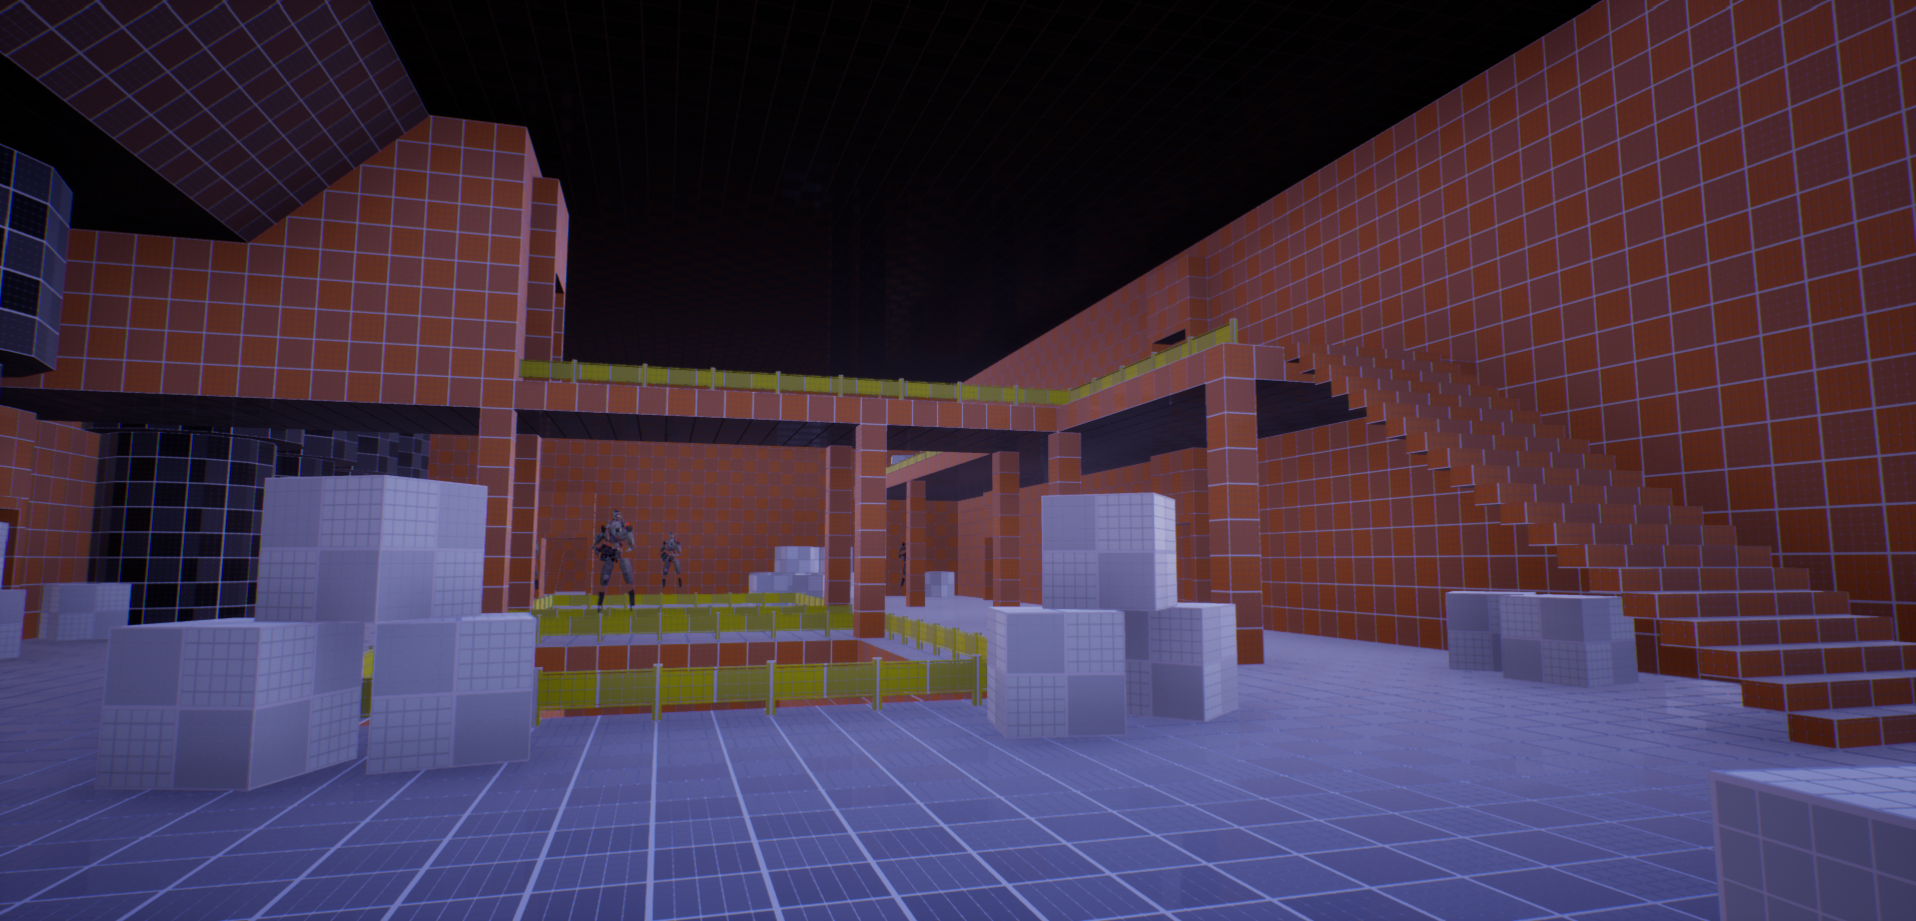
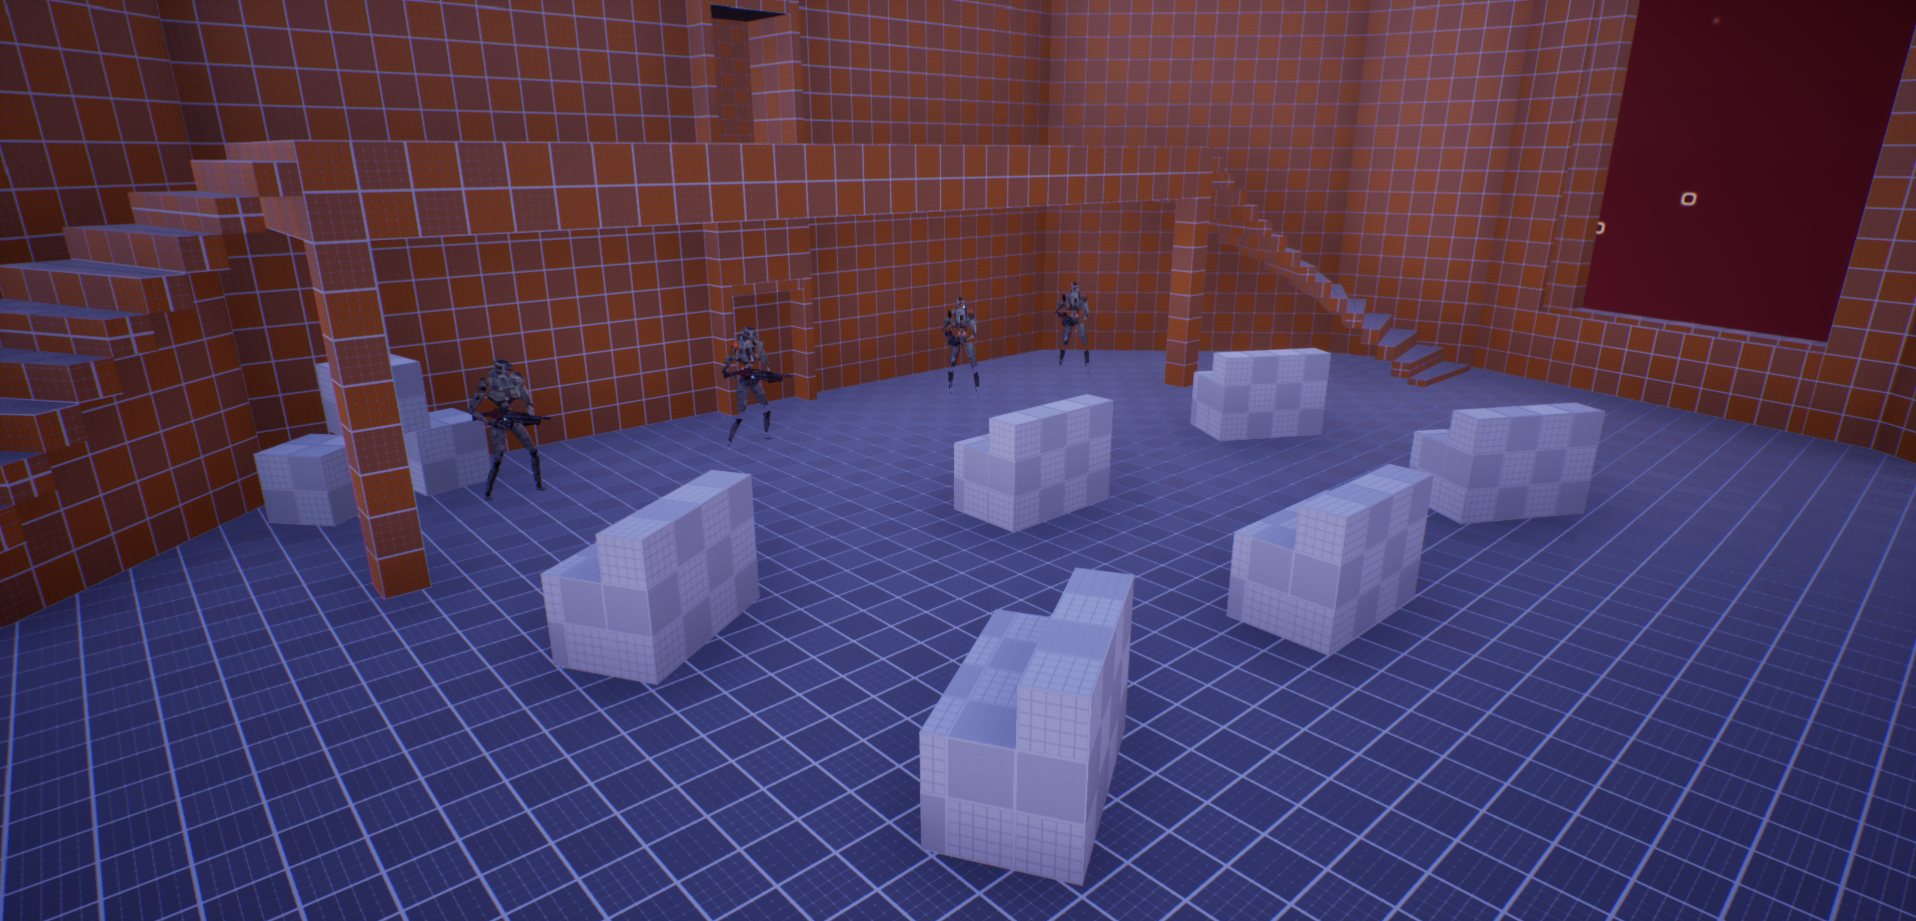
Step 4: Creation of the Whitebox in Engine
This step was pretty simple, because of how detailed the level layout was. When I made the layout, it was created on a grid system, that directly correlated to Unreal Units, so it was pretty easy for me to size everything out. Getting the basic walls, floors and ceilings took a short amount of time, but iterating on the spaces while adding in the combat sequences took a good portion of time. Trying to balance out the combats with enough cover was important to me.
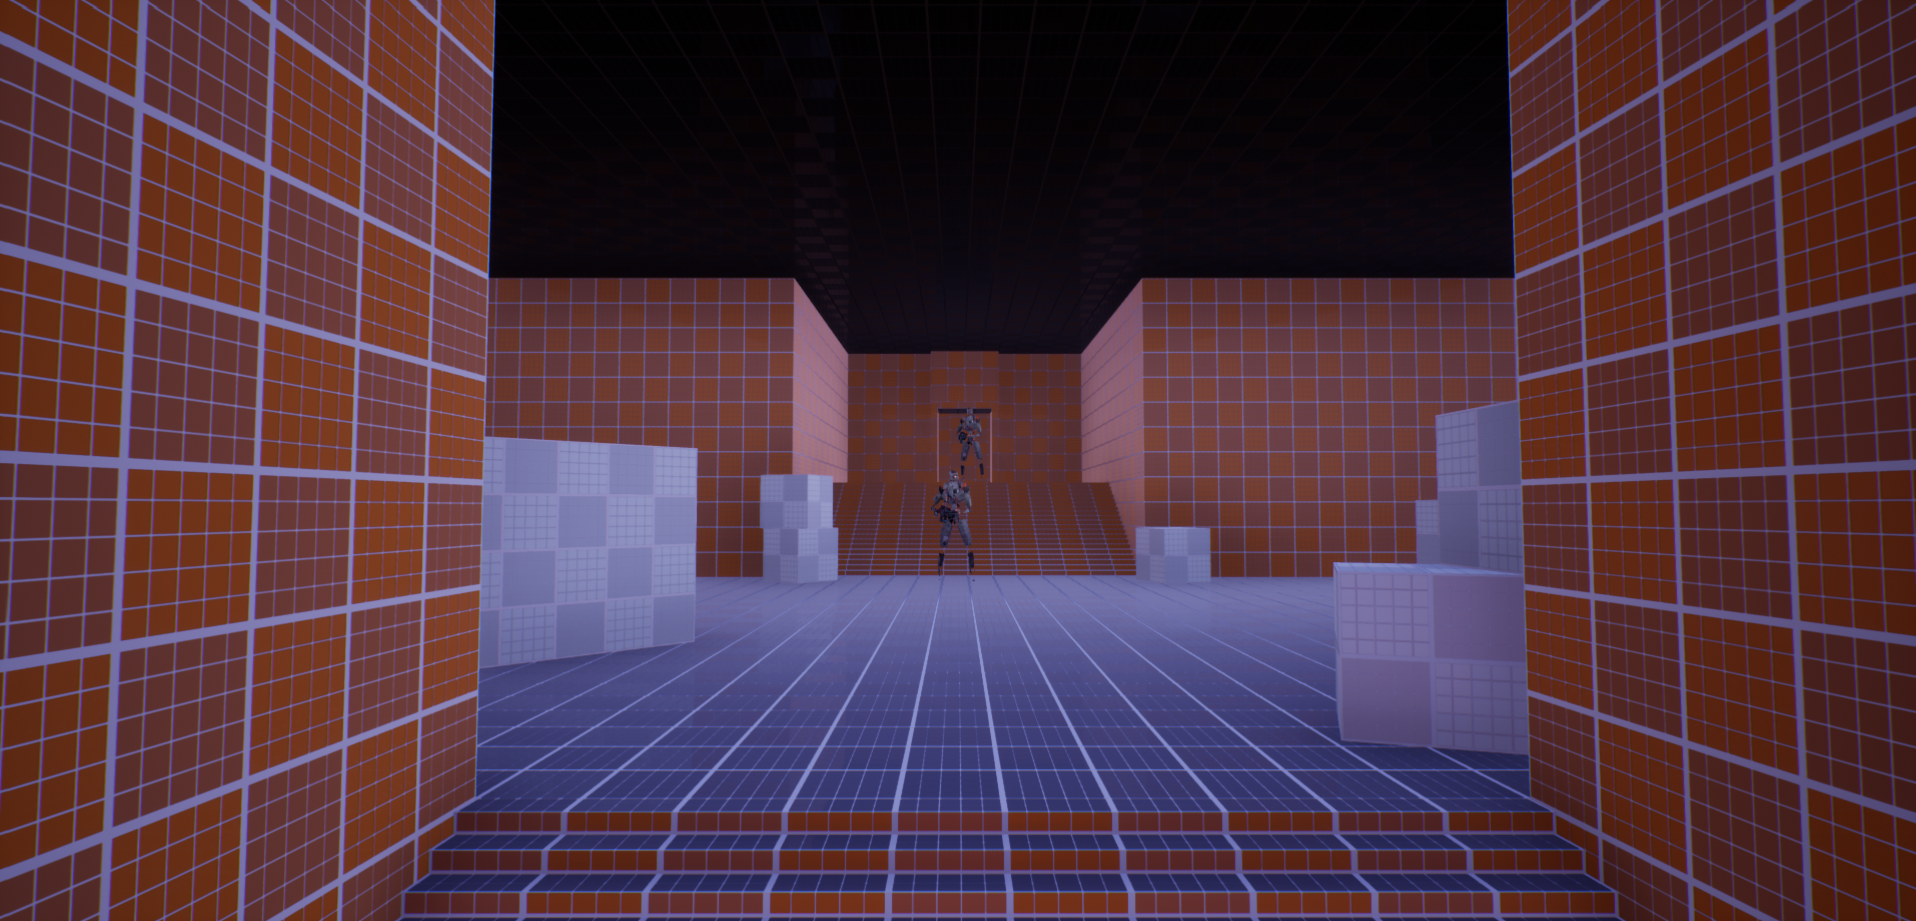


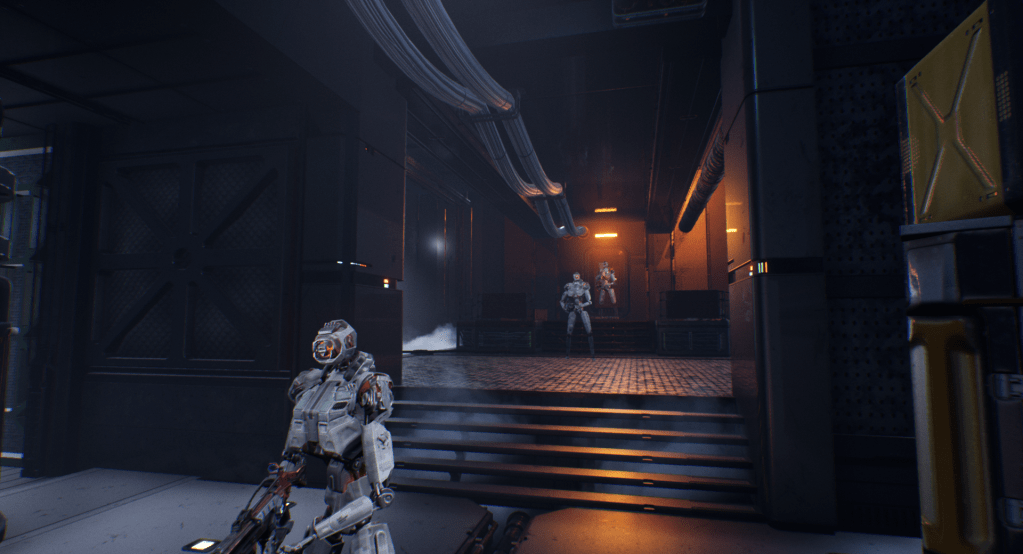
After adding in the enemies, I then swapped the meshes out from the UE4 man to the droids. This step helped bring the tone together, as well as adding in some uniqueness to the level. I then switched out the player character with a different human mesh, to make sure the player didn’t look unfinished.
I spent some time modifying the weapons during this step. The asset pack that I was using offered a laser gun, but I didn’t like the mesh on it, or the way the laser exited the barrels. So I spent some time switching out the mesh on the gun, and modifying the laser to look more like the laser shots in Star Wars. Adding in the sound effects to the gun also helped bring in the Star Wars feel.
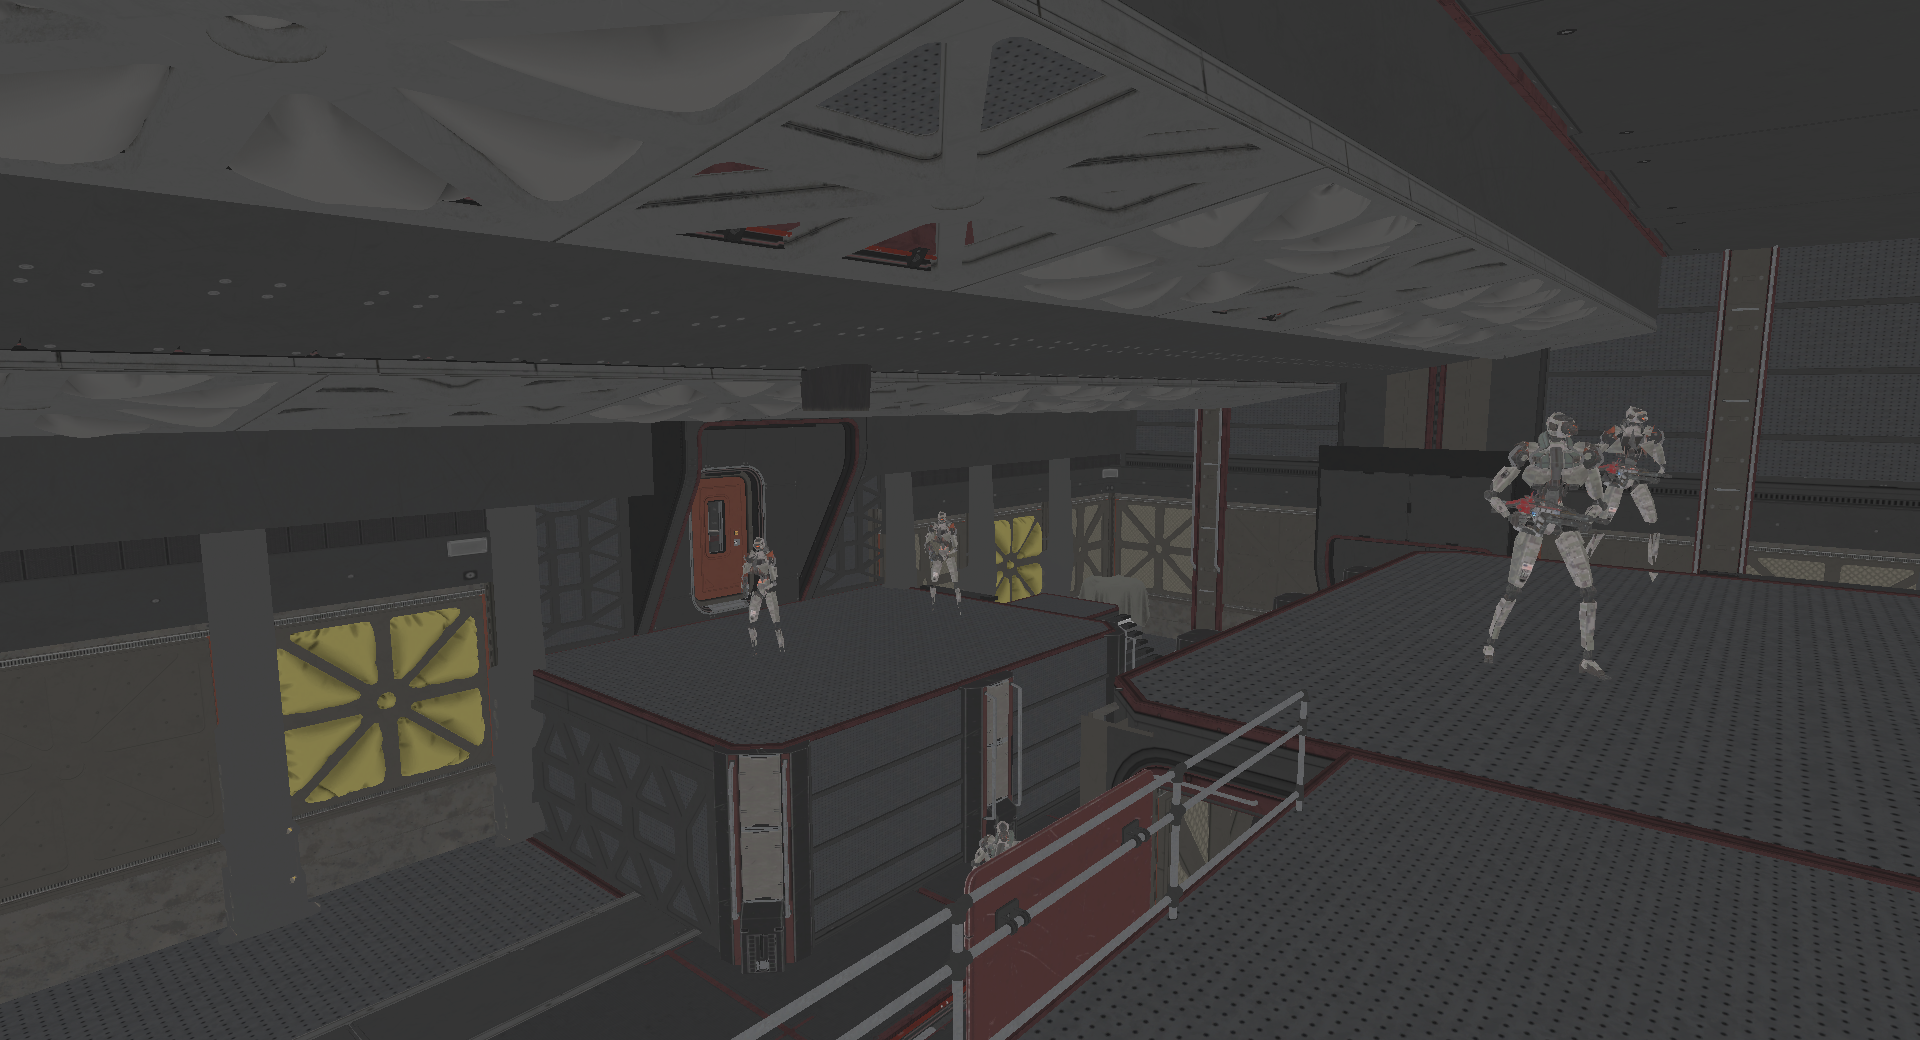
Step 5: Adding Art to the Level
This step took a large amount of time, as expected. I had found some really cool asset packs that I wanted to use. The first step in this was curating the asset packs to make sure everything fit together in a similar style. I went through the packs deleting out assets that didn’t match the desired style. I made sure to take a deep look at the demo maps to see how all of the pieces were working together.
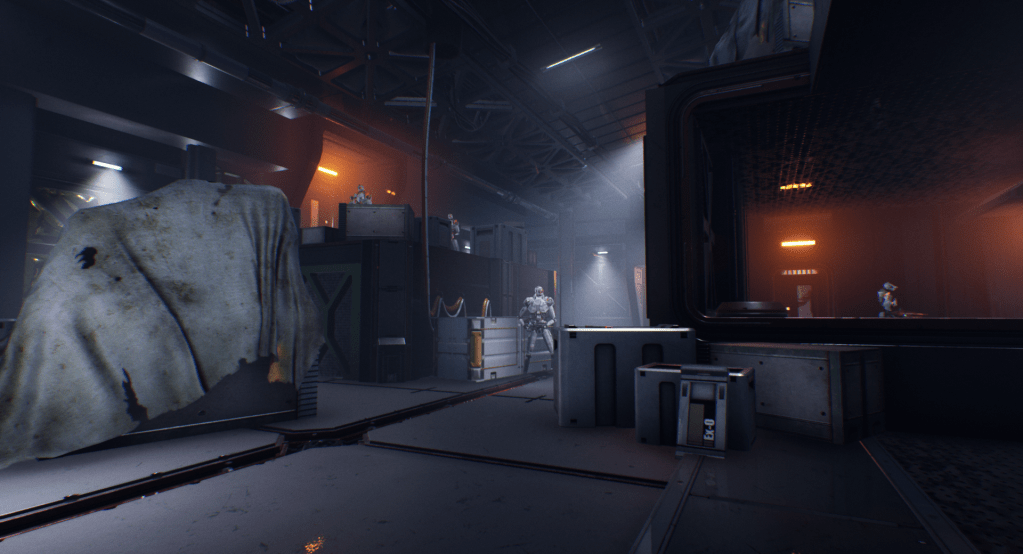
Once I knew what assets I had available, I started adding floors to all of the spaces. I wanted to start with the floors because I figured it would be the simplest step. Once the floors were in, I started adding the walls, one room at a time. After all of the walls were in, I went to adding in the ceilings. This part was tough because I wanted to make sure I could use the ceiling to break up the spaces a bit, so I tried dropping some areas down and raising others up. The last step of adding architecture in was adding in miscellaneous columns and beams. Coming from an architecture undergraduate program, it was really important for me to make the architecture feel as real as possible.


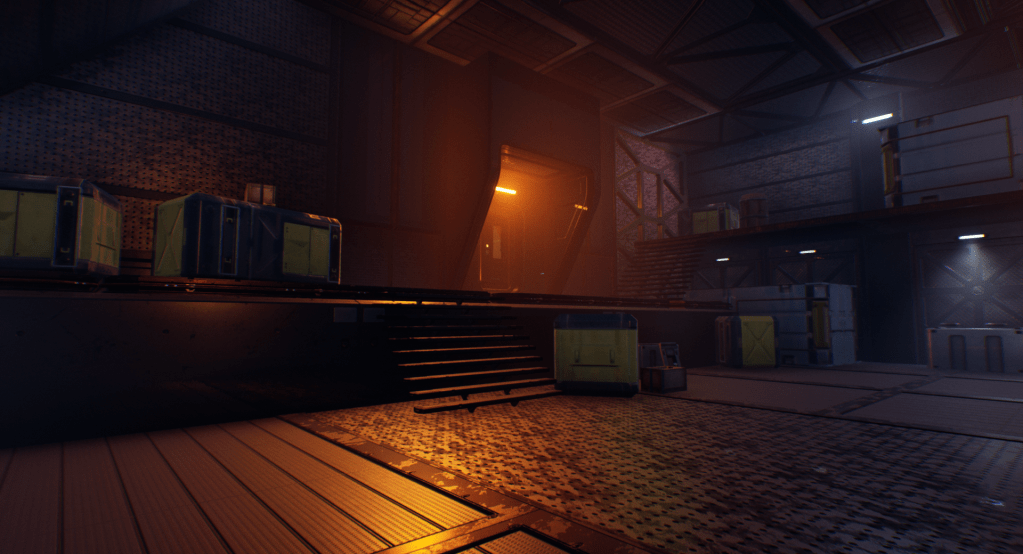
Next, I moved on to set dressing, where I started to get crates, wires, pipes, air ducts, etc. into the space. This particular step took me some time to figure out, to make sure I understood the packs. But once I figured it out, it was fairly smooth sailing from then on. Once the set dressing elements were in, the next step was to add in lighting fixtures, and the actual lights. This step was really fun for me, because I was able to use lighting to guide the player through spaces, while also getting certain items within the scene lit as well.
Lastly, I started playing with fog and post processing to put the final touches together. The volumetrics on the lights, combined with the fog, really helped bring the tone in even more. I only used a minimal amount of post processing, adjusting things like noise, exposure, bloom, and vignetting. I also created a LUT for the scene, to complete to color grading process.


Key Takeaways:
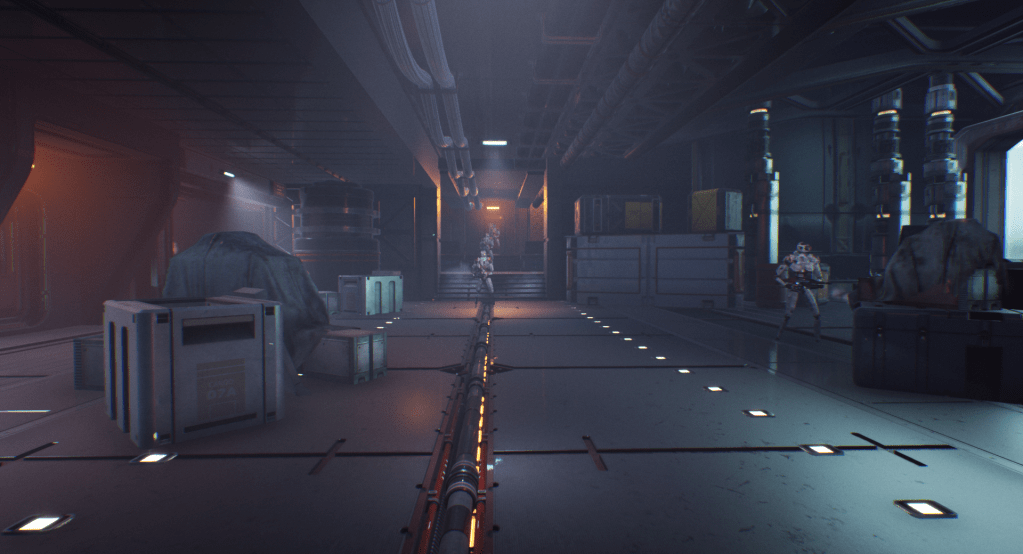
Importance of Half-Height and Full-Height Cover – This space had a very large amount of enemies in some areas, and understanding where half-height cover was needed vs. full-height cover was crucial. The half-height cover was important for areas where the player was meant to crouch and get back into it, where as the full-height cover was used in areas where players were taking heavy fire and needed to take a minute
Determining What Assets to Use Together – For this project, I was really testing my ability to use art assets in the space. Having pulled in multiple asset packs, it was important that I gathered the best assets that fit well together. Understanding the style that I was going for was crucial in determining how the assets would be used together.
Understanding of Scripting in Unreal Engine – The asset packs that were used for the combat in this space were very nicely laid out for me. However, I really needed to make some adjustments to the blueprints to make the level more unique. Being able to adjust things like the laser projectile, the sound the guns make, swapping out the skeletal meshes, etc, really helped bring this level together.

You must be logged in to post a comment.