Project Type:
Personal Project | Level Designer
Story Synopsis:
This level is meant to take place in a much larger fantasy RPG game. It is expected that the player is a lower to mid level player. The player has been given a quest to kill the local bandits that have been harassing the nearby village. There have been rumors that the bandits’ leader is a mage, but no one has ever actually seen this mage. The player must clear out the entire camp, and bring back something from the leader, to prove that the bandits will no longer return.
Software Used:
- Maya – This software was used to create the cave before importing into Unreal Engine 4. Proxy assets such as the stalagmites, torches, glowing mushrooms, swinging axes, etc.
- Unreal Engine 4 – UE4 was used as the game engine. I was also able to utilize Blueprints in this project.
- Adobe Illustrator and Photoshop– These two softwares were used to create the bubble diagram, digital layout, and reference board for the project.
Gameplay:
Responsibilities:
- Gathered reference imagery.
- Implemented a fantasy asset pack for gameplay.
- Created a bubble diagram, to emphasize sizes of spaces as well as what would be found in the spaces.
- Created a level layout based on the bubble diagram.
- Whiteboxed the cave in Maya to help determine sizes of spaces in all dimensions.
- Iterated on all elements of the whitebox, including adjusting the overall size of the cave, where certain openings were, etc.
- Added proxy art into the scene, such as the torches, glowing mushrooms, etc.
- Added in lighting, post processing, fog, etc.
Inspirations:
- The Elder Scrolls V: Skyrim – I have always been a huge fan of the Elder Scrolls series, and this game in particular will always be held close to my heart. I have spent countless hours in Tamriel, exploring every nook and cranny of the spaces. That, is why this game has been such an inspiration for this project. The cave layout, the swinging axes, the glowing mushrooms, as well as the pull chain at the end were all inspired by Skyrim.
- The Witcher III – This series as a whole is fantastic, but the encounters that the third game in the series provides is special. The way dodging is used, as well as the different signs (powers), was a big inspiration with regards to the combat design.
- Destiny 2 – This game was mostly used when looking for different color schemes to follow in such a natural environment.
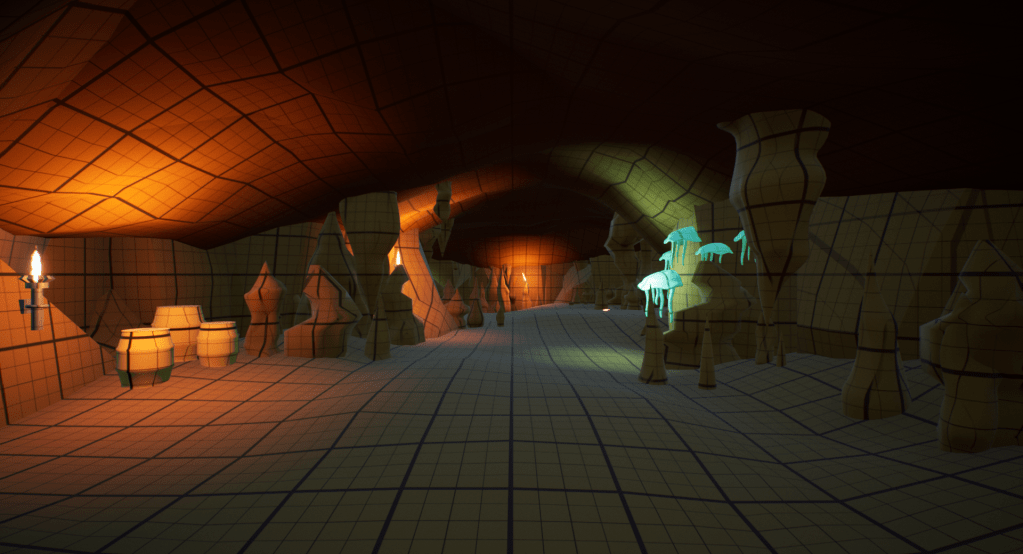
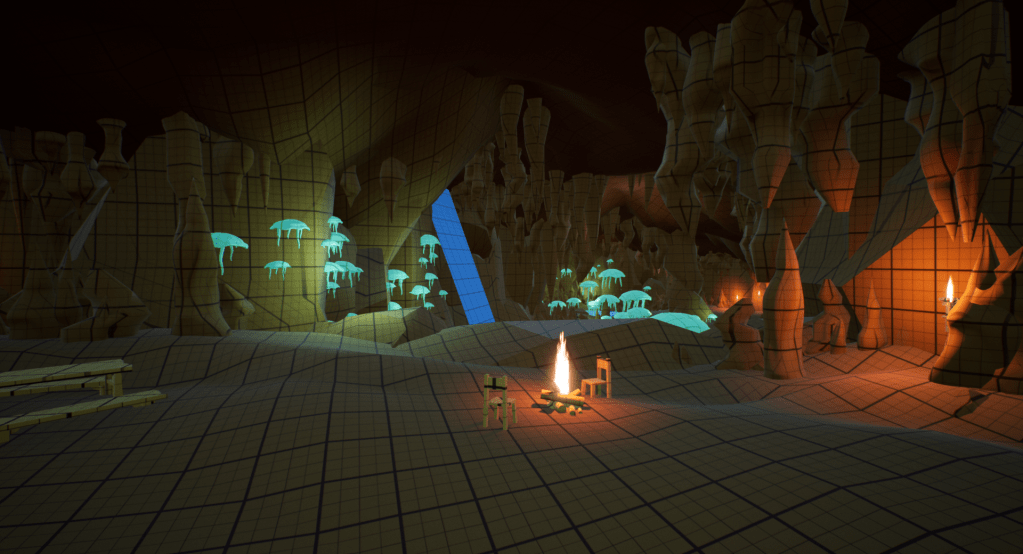
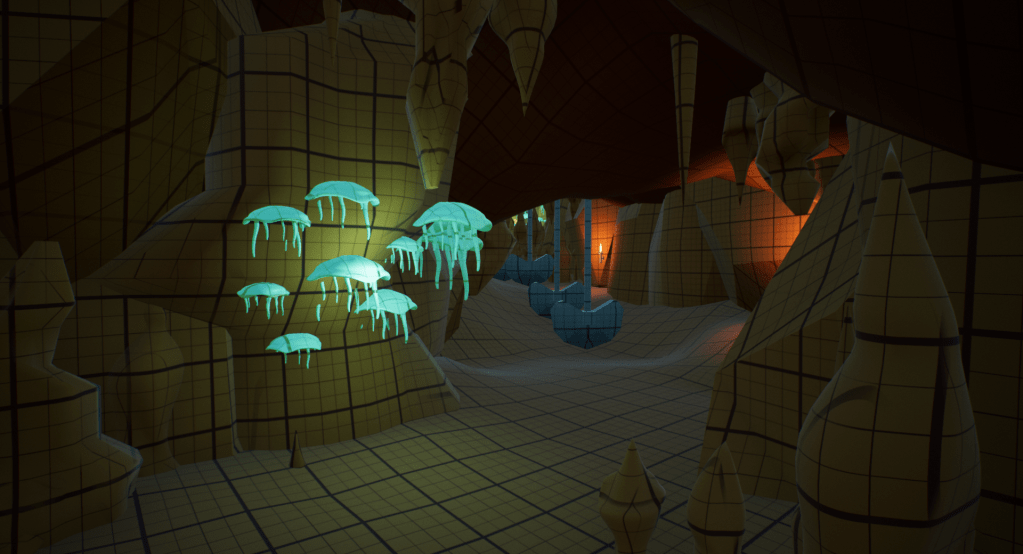
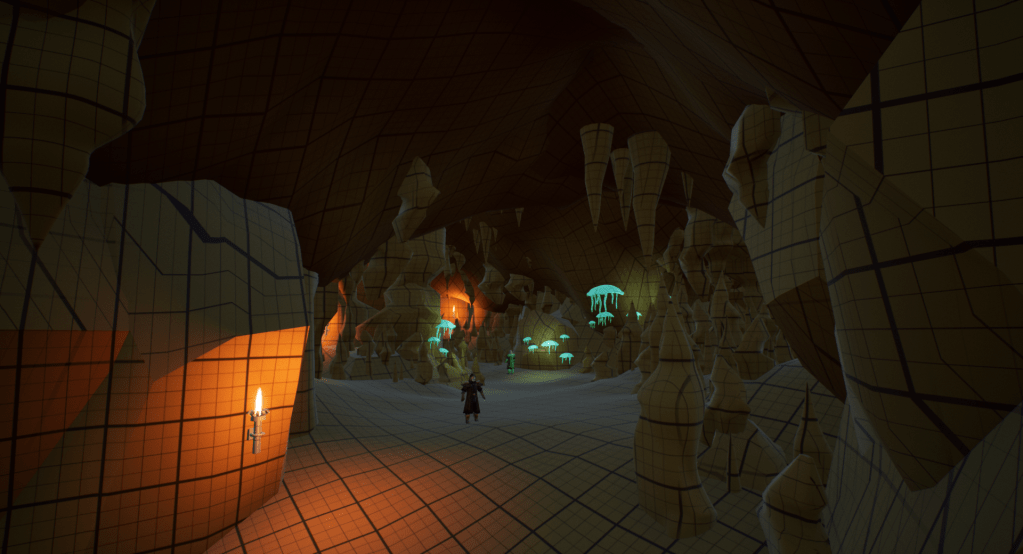
A Few Images:


The Process:
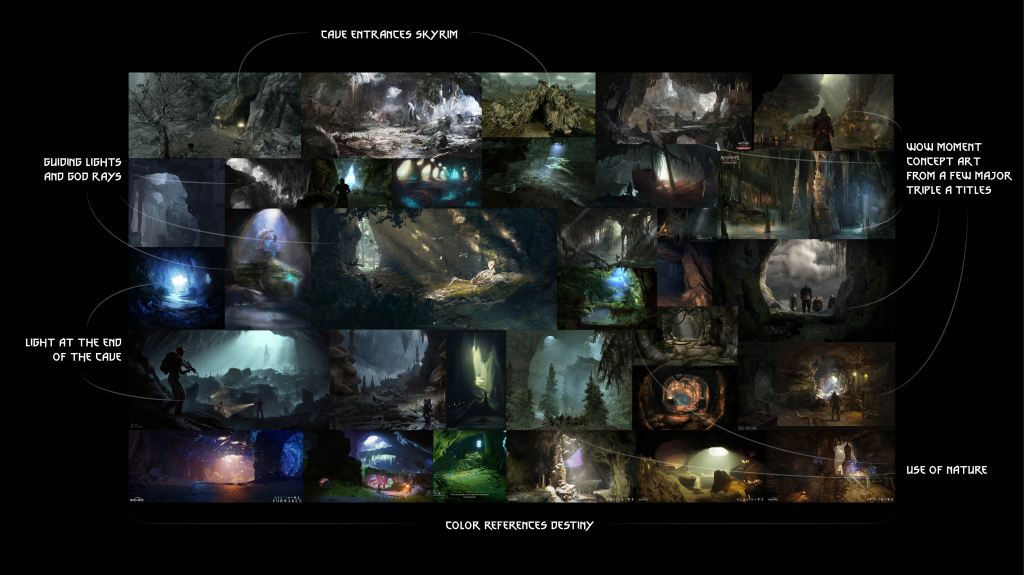
Step 1: Creation of the Reference Board
While creating this reference board, I already had two things in mind: I wanted to stay in the fantasy realm, and I more specifically wanted to make a cave. I knew it would be quite an undertaking, but I really wanted to test my whiteboxing skills. I started by looking at two of my favorite games of all time: Skyrim and The Witcher III. Both of these games have a good variety of caves, in both how they are laid out, and also how the sizes of each of the spaces vary. In both games, the combat evolves very nicely, and that was something I also wanted to consider.
Other imagery from games like Destiny 2 and Assassins Creed were also used.
Step 2: Creation of the Bubble Diagram and Level Layout
As someone with Bachelors in Architecture, I have always had different pre-planning methods for design. In the field, bubble diagrams can be used to determine the number of spaces, where they are generally located, and how big they are. For this project, I decided to start with a bubble diagram to layout the level. I had determined beforehand how many major and minor encounters I wanted, as well as all optional paths. As I was creating this bubble diagram, I was trying to keep with the looping-layout that Skyrim typically follows with its caves. After determining this, I started to scale some circles and throw them into the layout. While it started very random, it started to get more precise the more I iterated. Lastly, I added some notes to the left about what was to be found in each room.

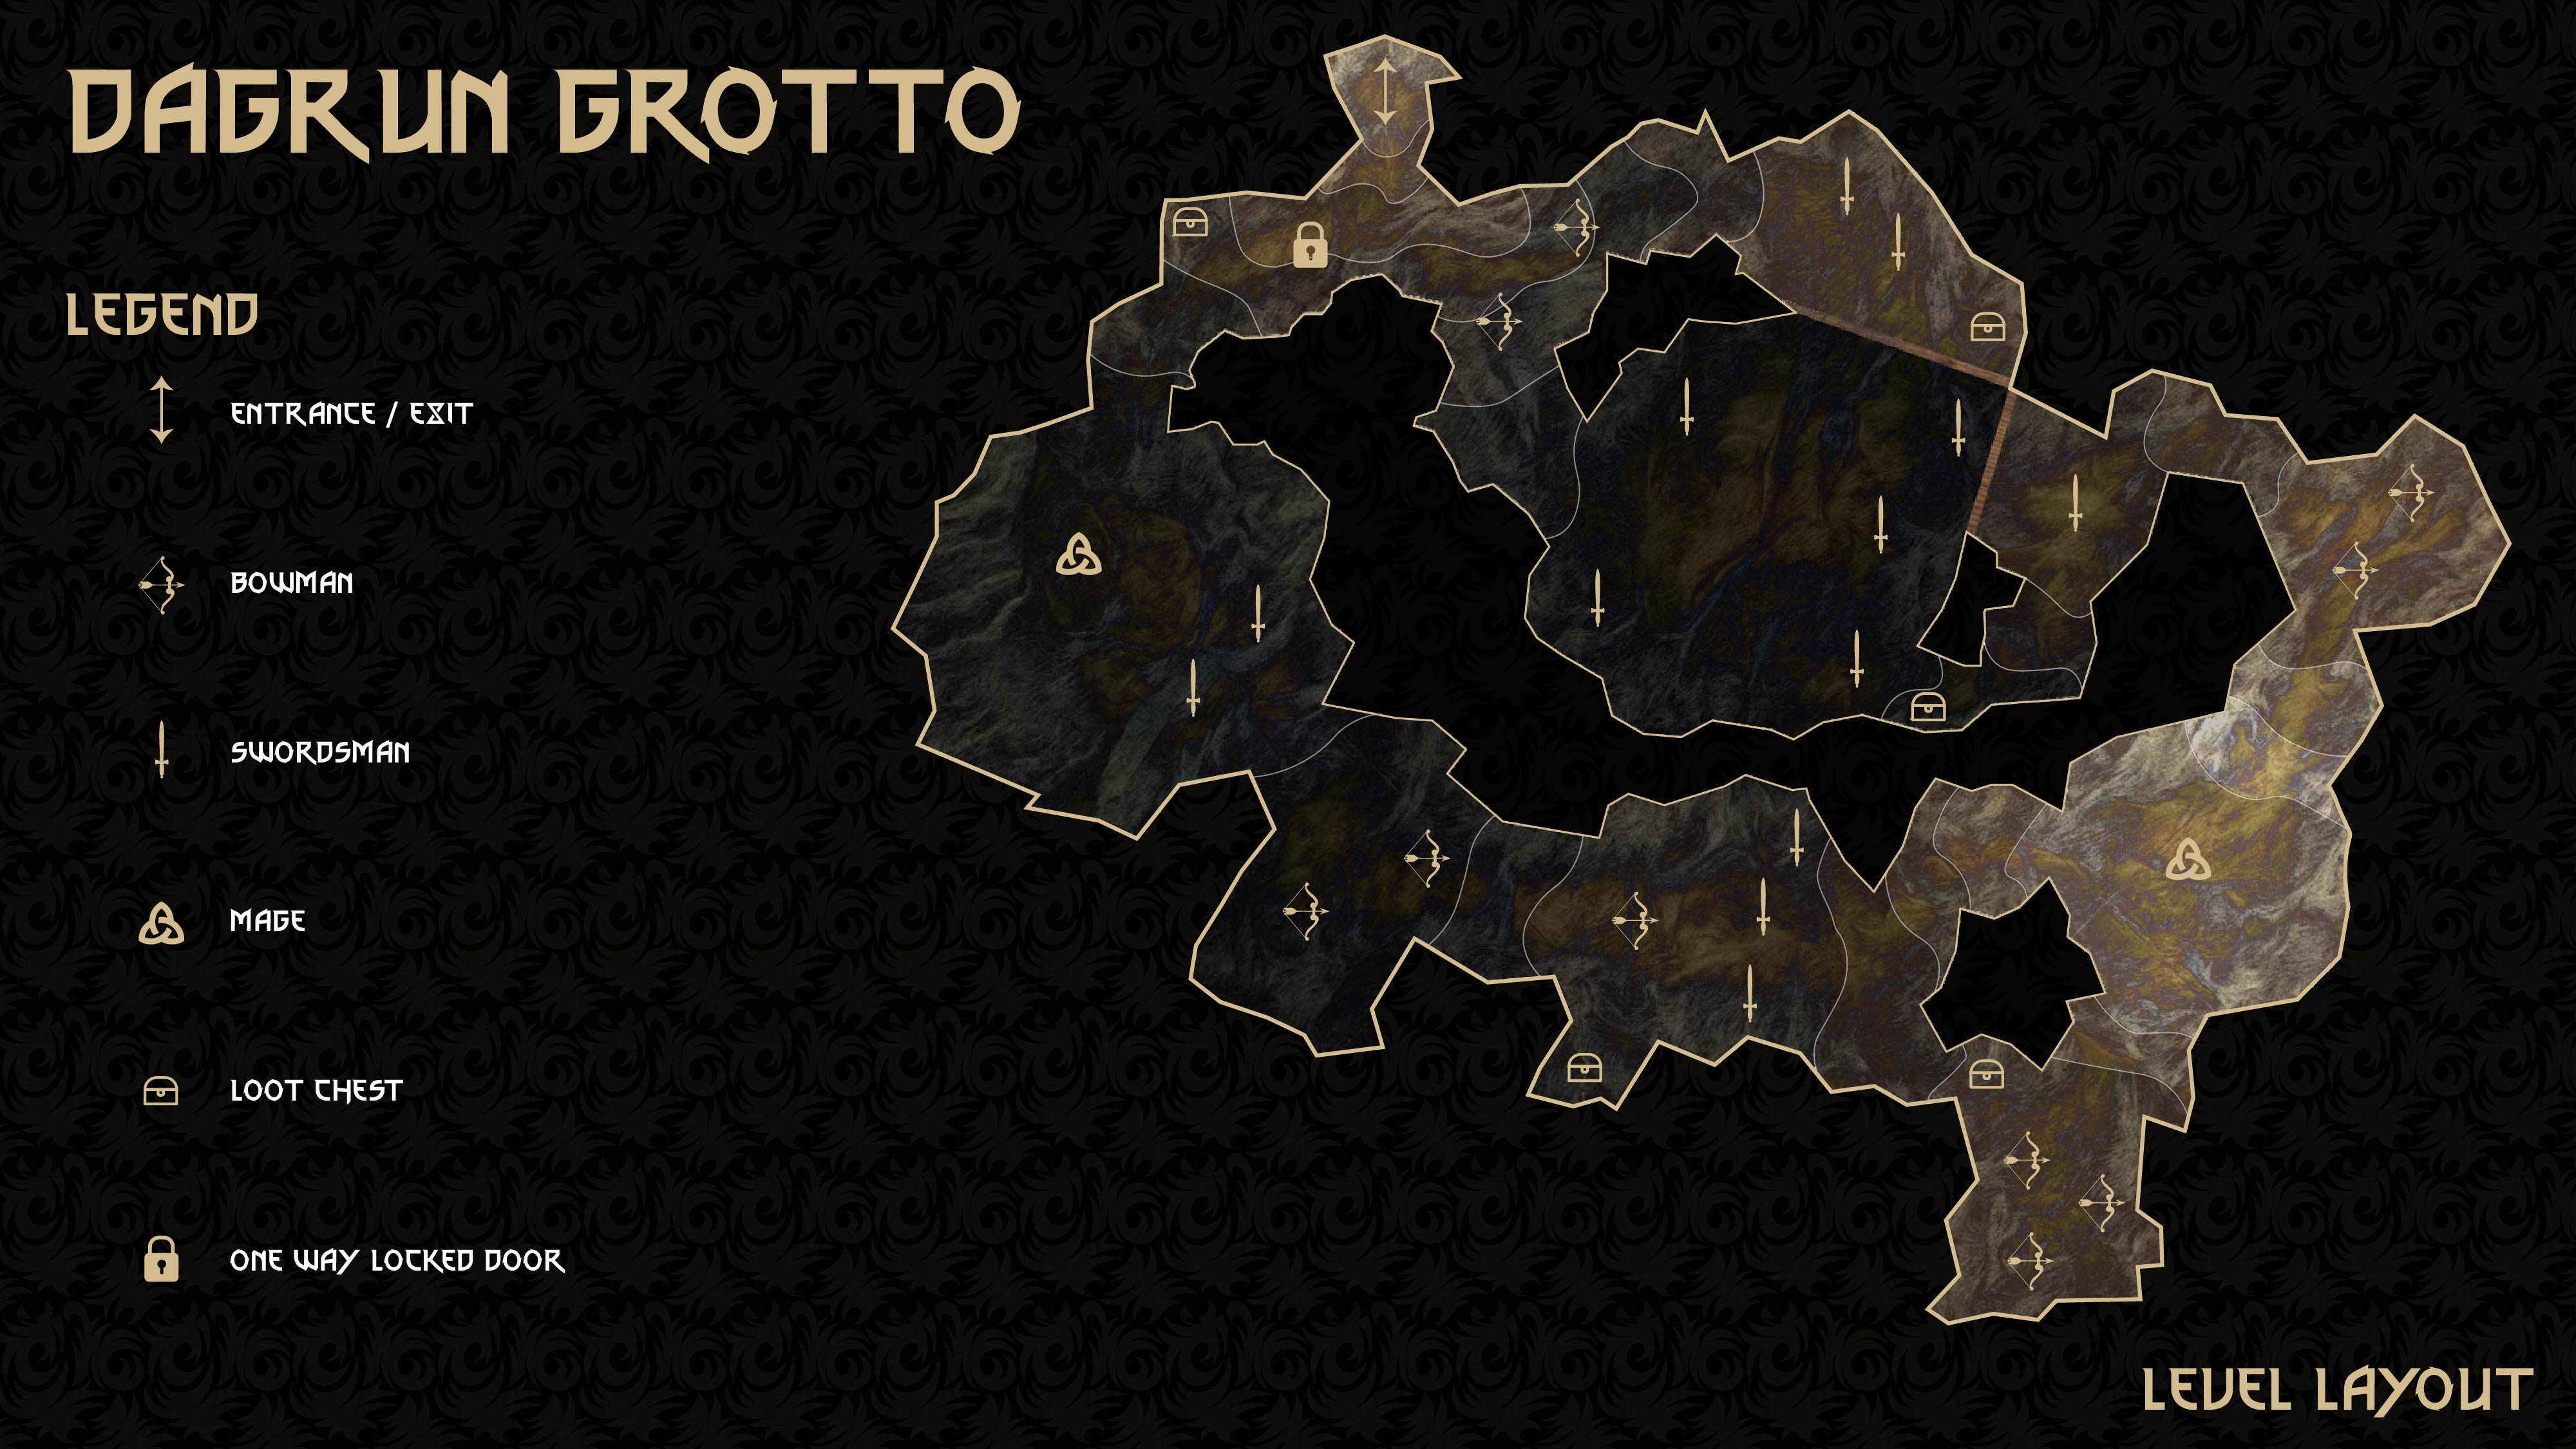
After the bubble diagram was made, it was time to convert the circles to cave-like walls. I started by creating a jagged outline around the cave, and continued to do that for the interior portions. Once the walls were defined, I began to place where each of the enemies would go. While the placement of these enemies ended up changing in the whitebox, the general difficulty of each space remained relatively the same. I also wanted to make sure I noted where the one way door was, to help note that the whole cave was a loop. Lastly, I wanted to make sure this cave’s elevation changed similarly to how an actual cave would, so the darker areas indicated lower areas of the cave, while the lighter areas indicate a higher elevation. These elevations stayed true throughout the whole project.
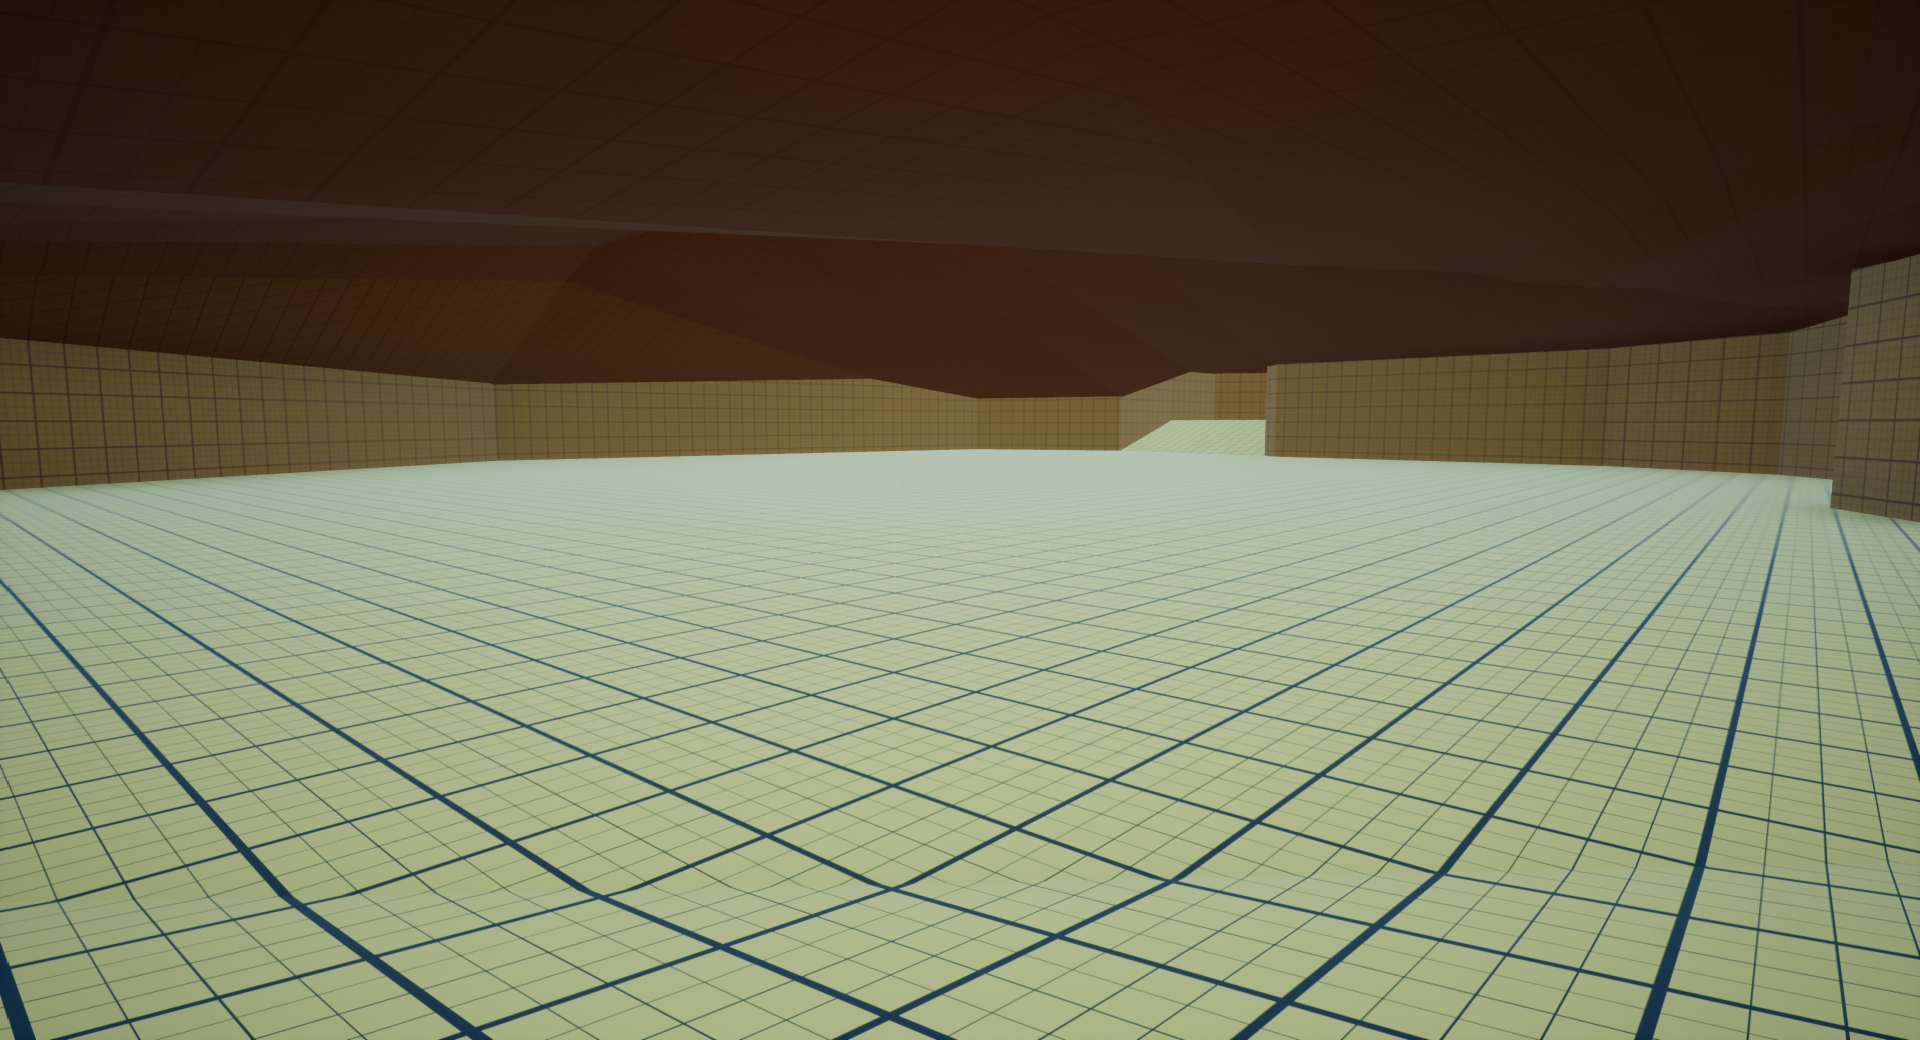
Step 4: Creation of the Cave in Maya
The whole process of building the cave started in Maya. I Started by creating the base of the cave using an image plane as reference. After I created the floor plane, I added some edge loops to break up the planes, and began adjusting the elevation of each of the rooms. Next, I duplicated the floor and raised it up, and adjusted the elevations of the ceilings to be different than the floors. Lastly, I added planes in for the walls, to close the gaps. This is what is shown on the left in the comparison below.
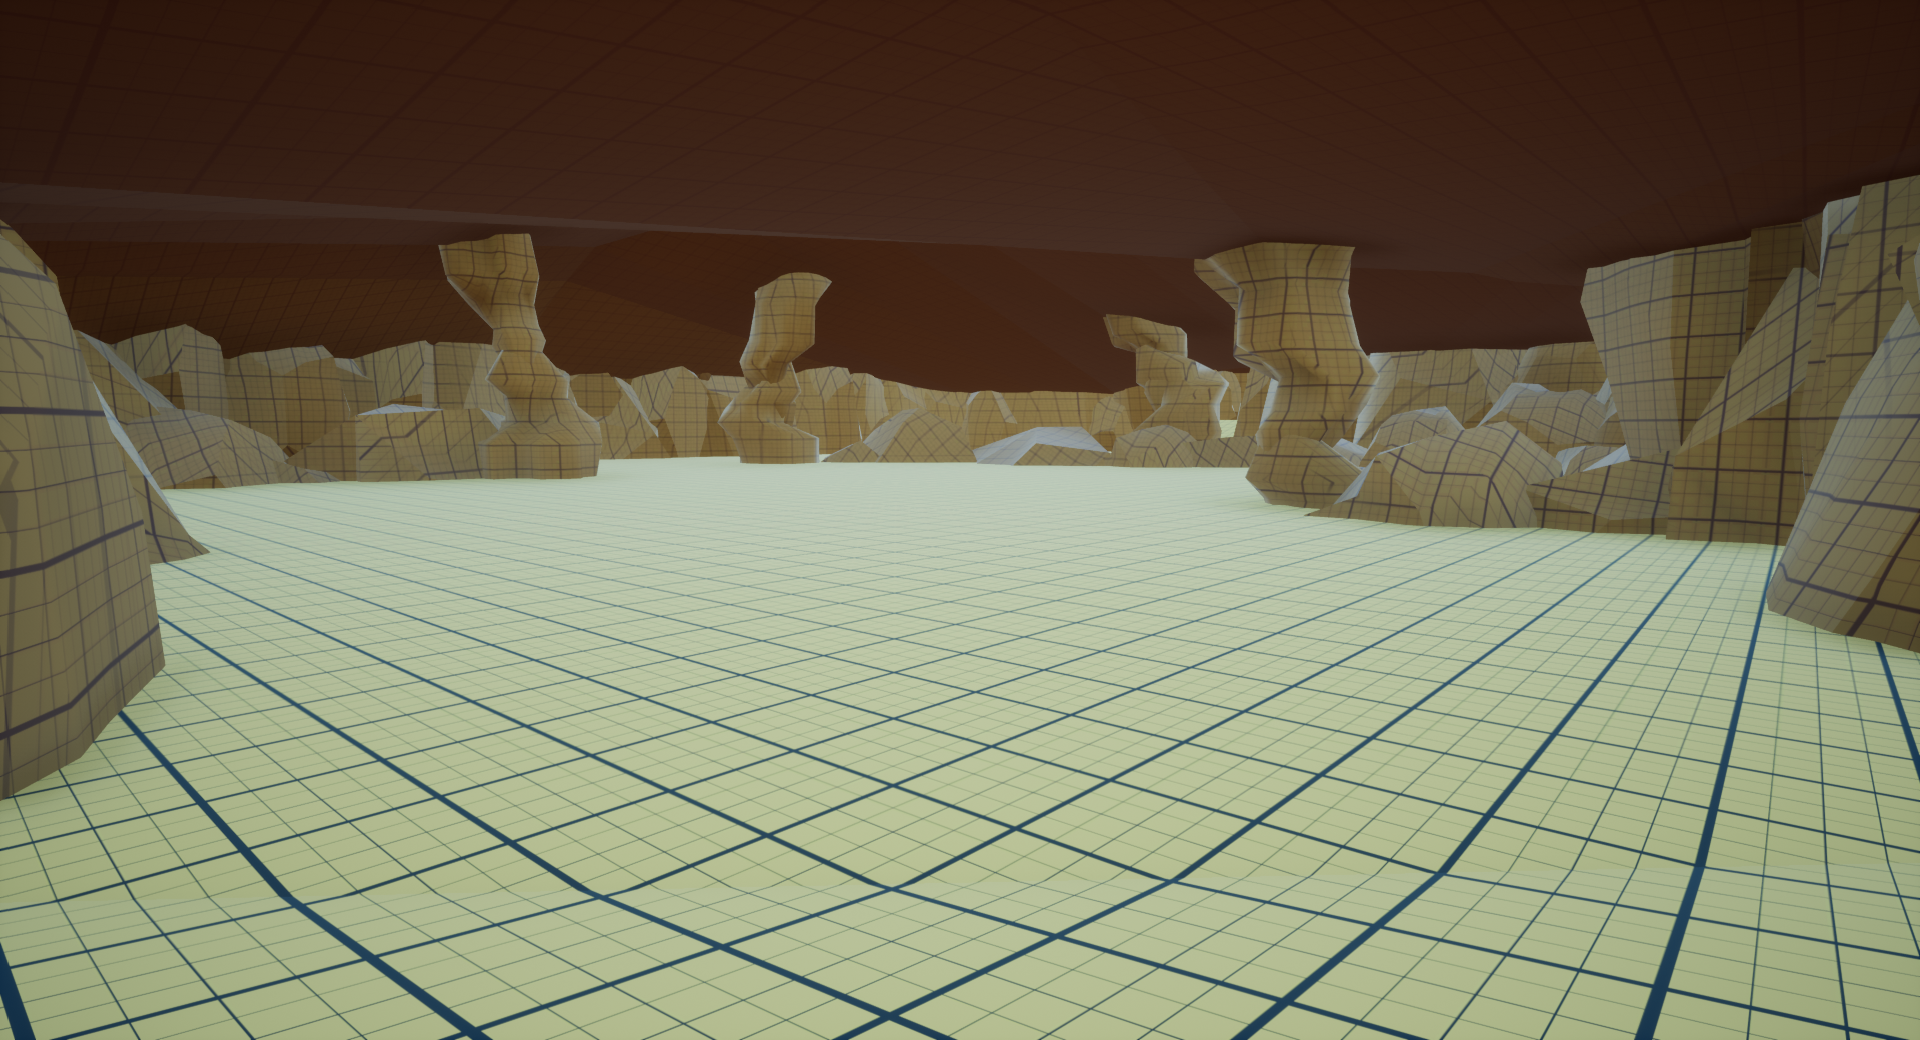
Once I added the walls in, I realized that the cave was looking a lot like a mall food court. To begin making this feel a little more natural, I modeled roughly 10 different rocks, and started to use these rocks to overlap the walls to create a more rigid and natural cave wall. I had also begun adding some rocks to the ceiling, to almost act as columns, to start breaking up the spaces a bit.
Step 5: the Landscape and Foliage Tool
Once I had started to add the walls in, I realized that the floor and ceiling were looking very man-made. I was having some difficulty making them both feel more like a cave. So, I added in a landscape, and started to match the elevations of the landscape to the floor I had made in Maya. Once I did that, I was able to sculpt the ground to look and feel more like an underground hideout. The image below on the left shows the new landscape.


Then, I decided to use the foliage tool to layout the stalagmites on the ground. I was able to use the rocks I had made in Maya, and use a non-uniform scaling method on the foliage tool to make the stalagmites feel even more natural. Once I finished this step, I realized I needed to do the same with the ceiling. So, I added in a second landscape, flipped it upside down, and began sculpting from the inside. After the ceiling was created, there was one final step: I needed to add stalactites to the ceiling. I had thought to myself “Ryan, you could just use the foliage tool to do this, similar to how you did the stalagmites on the ground!” However, the foliage tool very much does not like being used on a landscape that is flipped upside down. I tried multiple ways, and I found only one way that worked. I duplicated both the floor and the ceiling, dragged them off to the side, flipped them over, then I used the foliage tool to paint the ceiling as if it was the floor. Then, once I was done, I flipped it back over and replaced it with the ceiling of the cave. At that point, I had completed the modeling phase of the cave.
Step 6: Implementing Gameplay
I knew that I wanted the player to only be a mage, meaning they wouldn’t have any swords, bows, axes, etc. The first step in setting up this gameplay was to remove the functionality of melee and archery from the player’s inventory. Once I had done that, I realized that the player was only allowed to have five hotkeyed spells. I liked the idea of this, but I didn’t like all of the original powers the pack gave the player. So I then swapped out three of the spells for others within the pack. The last step was replacing the character mesh, which I did using another asset pack. Retargeting the skeleton was tricky, but soon enough I was able to get the player to become a dwarf!
For this level, I wanted to use all of the available enemy types. The swordsman was pretty standard and I didn’t have to change much other than the character mesh. The archers needed some damage reduction as well as the character mesh swap. The mage character class took the longest to edit. In the pack, one of the spells that the mage has access to is a summon, which summons in a dinosaur. The pack doesn’t allow for any other creature to be spawned in, and dinosaurs felt very out of place for this project. So, I went in and made it impossible for the mage to summon anything. To compensate for this, I went into the mage’s behavior tree, and raised the amount of health the mage had to be at before he had a chance of casting a healing spell. This allowed for the mage to stay alive longer, making the fight just as lengthy as when he was still able to summon a dinosaur or two.
The last major change to the enemy character classes was adding in a boss health bar to the final mage when the player enters the boss fight. This was some simple UI trickery, but I was able to successfully move the health bar from above the mage’s head to the player’s UI.

Once the enemies were fully setup, it was time to start placing them in the scene. I had already planned where enemies would be going, which made this step was easy. As I was adding the enemies in, and playtesting by myself, I realized that some rooms needed more enemies, while other rooms needed less. I also realized that I didn’t have much variety of enemy type in each room in the initial layout, so I spent some time integrating both archers and swordsmen into some of the spaces.
After the difficulty of each room was determined, the last step relating to the enemies was making sure I setup the pathing for the patrol routes. This step was pretty simple as well, but making sure the paths were somewhat natural to paths enemies would take took some time. I also wanted to make sure that if the enemy was engaging with the player, that there would be a good chance that another enemy would walk by, making the fighting a bit more dynamic.

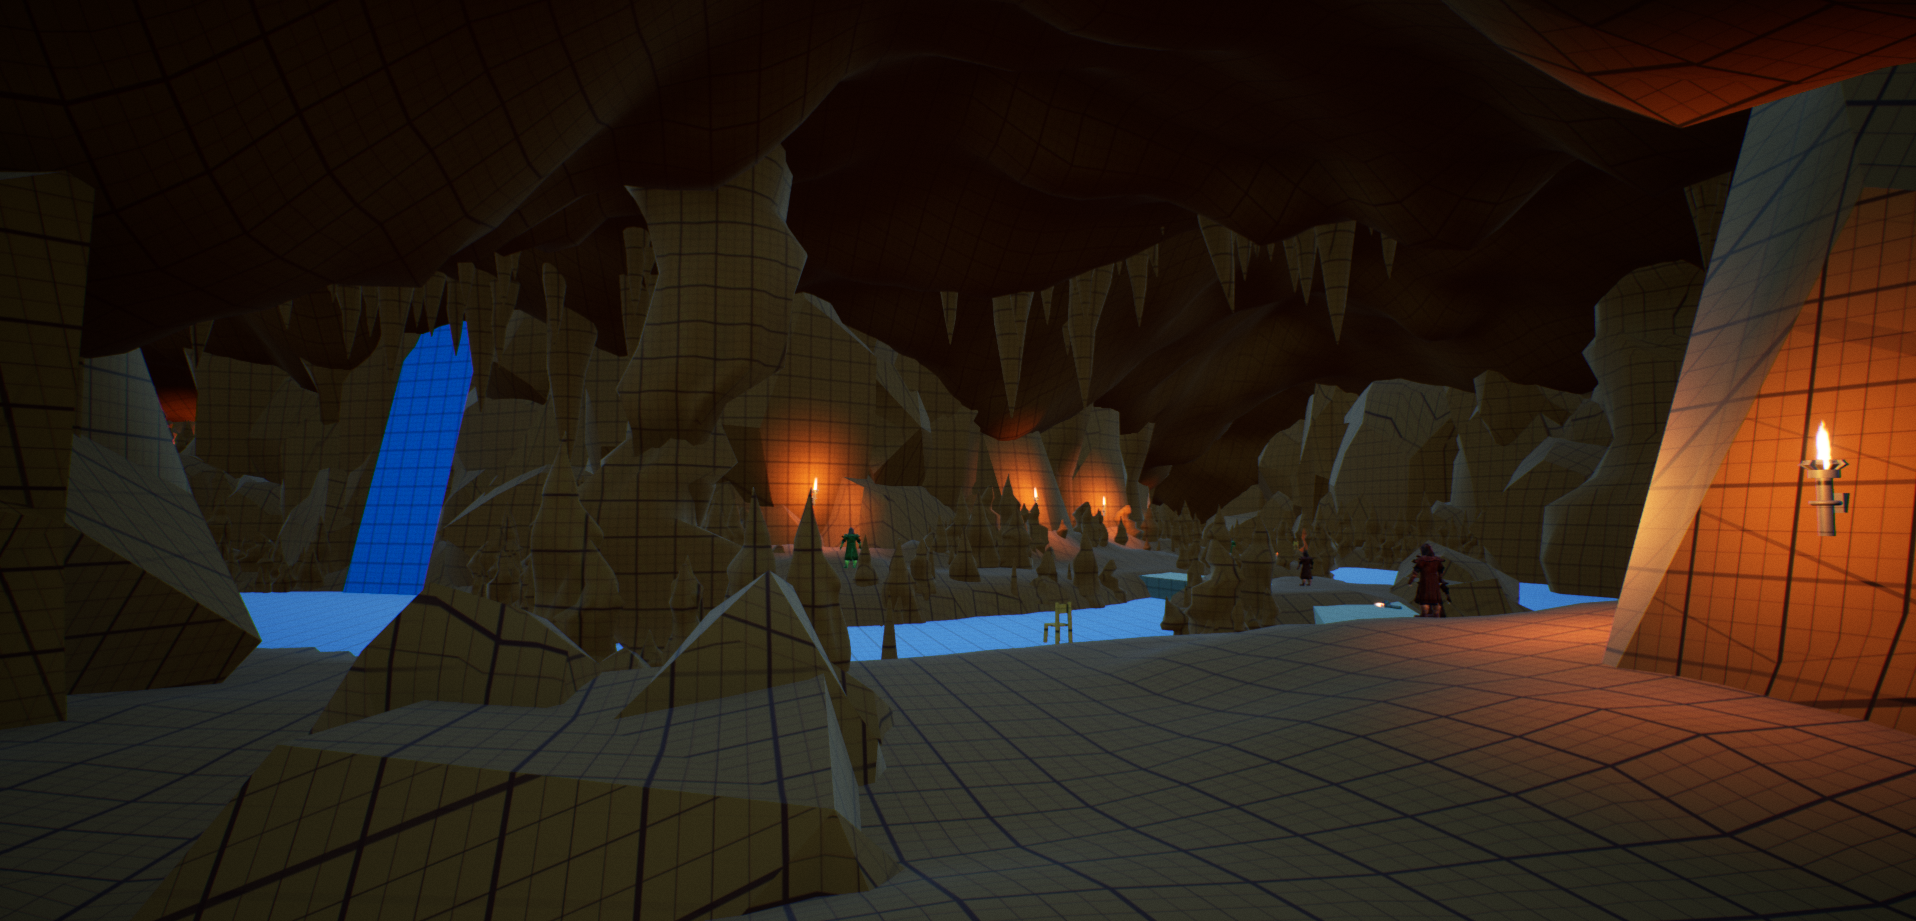
Step 7: Lighting and post processing
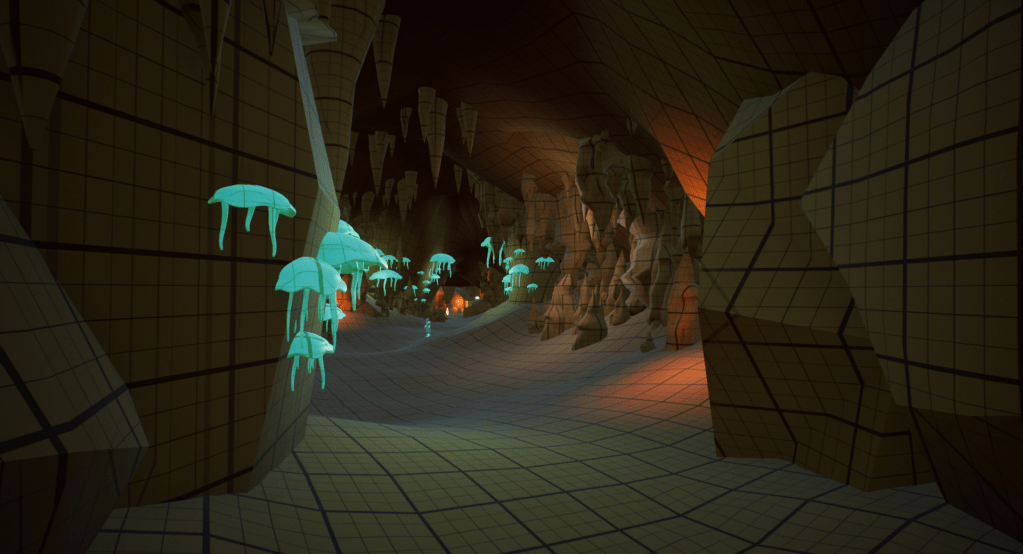
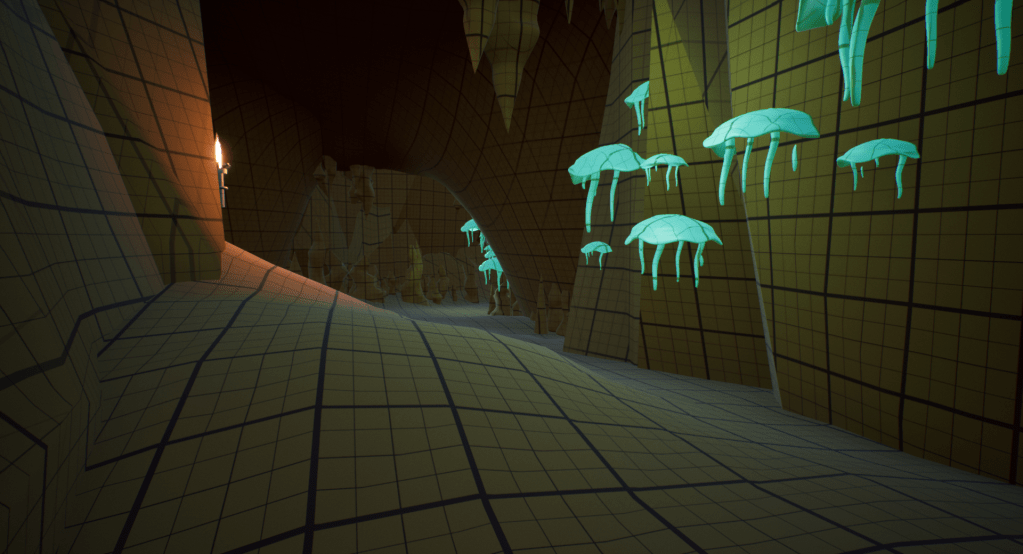
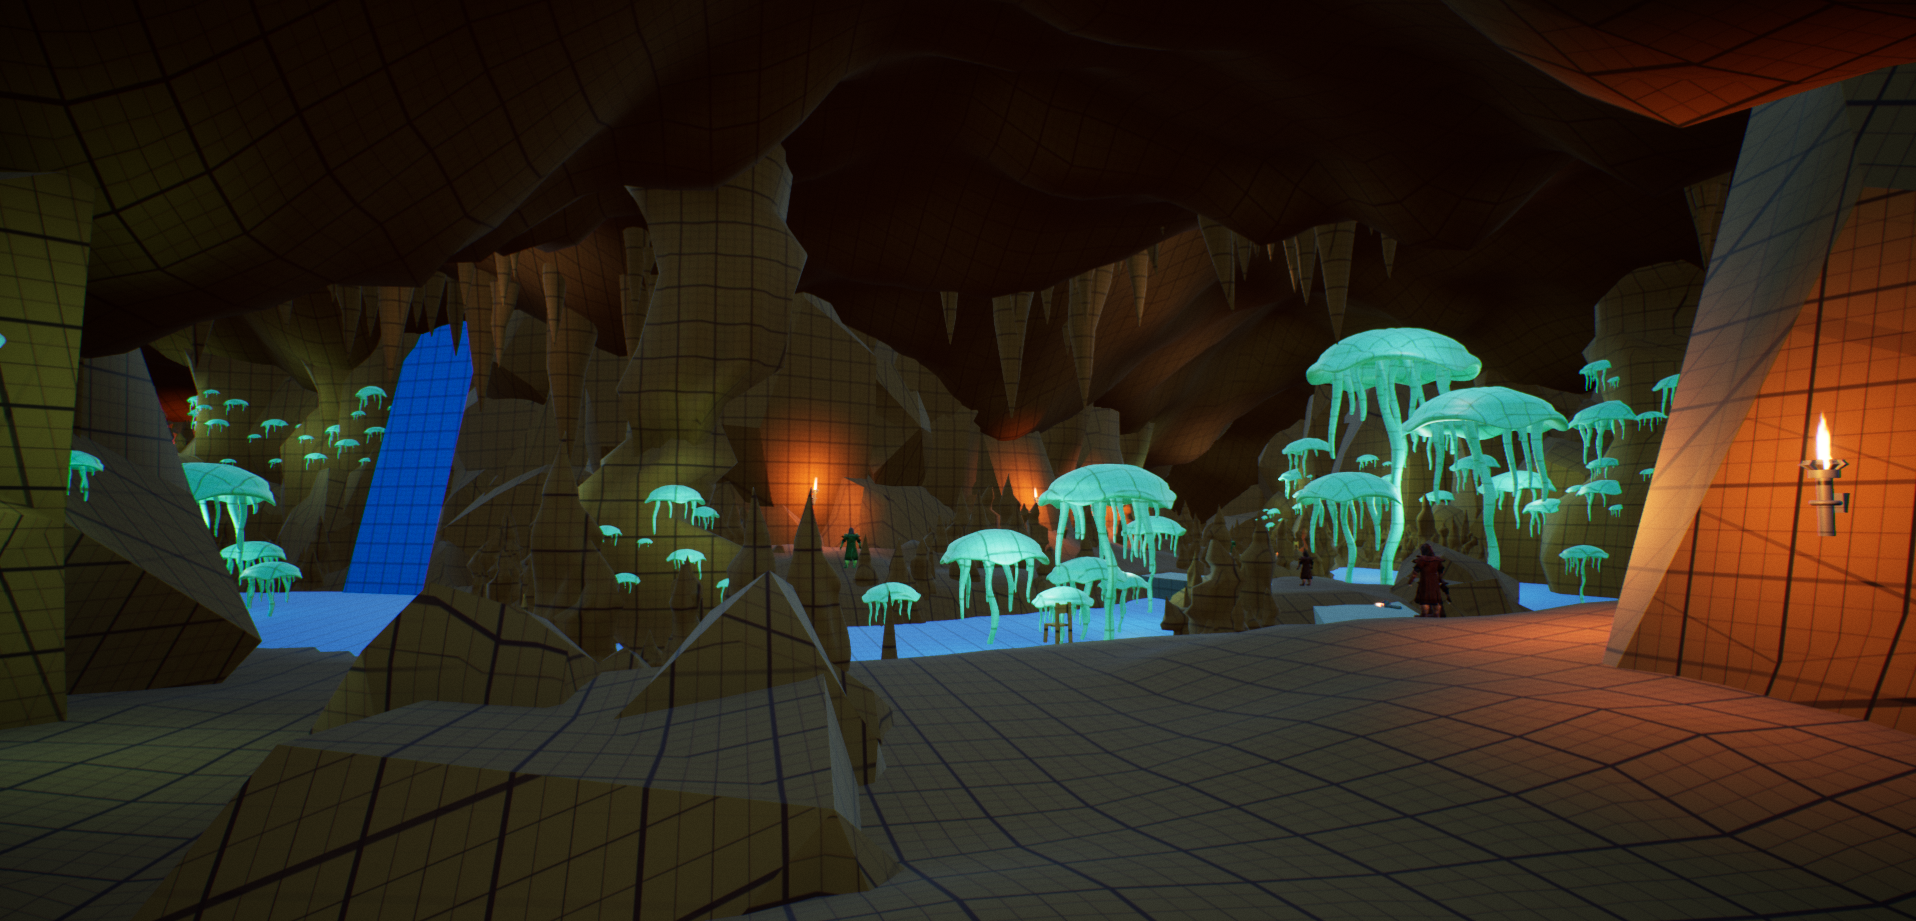
Once the gameplay loop was set up, the last step was lighting. I had already brought torches into the scene, which I had proxied in Maya. These torches provided a nice amber glow, but I wanted to have another color to throw in to help create some diversity in the lighting. I had already been using the torch lights as a conveyance tool to guide the player throughout the spaces, so I decided something more natural like emissive mushrooms would help me strategically fill in the gaps of light in a more natural way. Two types of mushrooms were designed, one that was to be attached to walls, and another that was to grow from the ground. An emissive was put onto the mushroom material, and point lights were also placed in the scene to create the glowing effect.
Once I had completed the lighting, the last step for the whole project was the post processing, which I tried tremendously to use very little of. At the very beginning of the project, I had turned certain parts of the post process to zero, such as the bloom, auto exposure, and vignetting. While I kept the auto exposure at zero, I brought the Bloom intensity to 0.25, and the vignette intensity to 0.5. I also made some small adjustments to chromatic aberration and grain jitter, to add just a hint of movement to the scene.
Blueprints:
While I spent a good portion of time modifying the blueprints of the asset pack I used for gameplay, I made two unique blueprints from scratch.
This first blueprint is for the BP_SwingingAxe, which is the environmental hazard in this whitebox. The proxy model for the axe was created by me in Maya. The first image shows the timeline being called to rotate the axe. The timeline is 4 seconds long, with each second transitioning from 0 to +1 to 0 to -1. This allowed for a full pendulum swing within a single instance of the timeline. Before the timeline is a delay that is used to stagger the starting times for each of the swings. This allowed for patterned swings on the axes. Lastly, I made sure to grab the starting rotation values of the axes, so I would only rotate on the pitch, while leaving the roll and yaw alone.

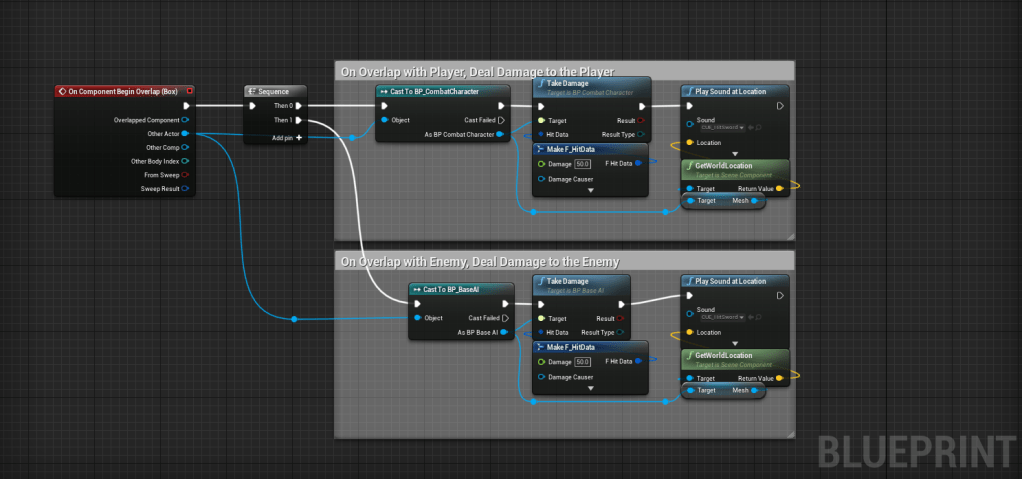
The image below is the other half of the BP_SwingingAxe. This portion of the blueprint is what causes damage to the player or any enemy that gets hit by the axes. Once the player or enemy has taken damage, a sound plays to let the player know that either the player or an enemy have taken damage from the axes.
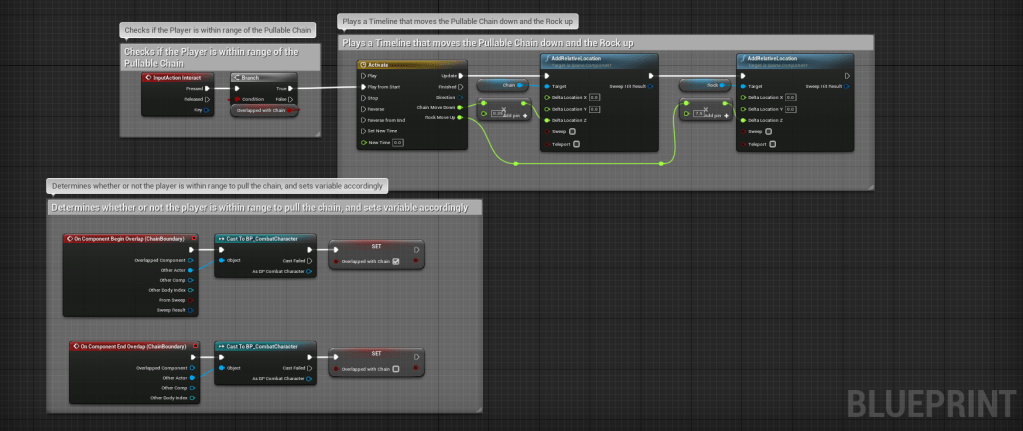
The blueprint below is for the BP_PullChain at the end of the level. There are two meshes involved with this blueprint, the pullable chain and the moving rock. Both of these meshes were created by me in Maya. The portion at the bottom checks to see if the player is overlapping the chain’s boundary. When the player is, a boolean is set to true, and when the player exits the boundary, the boolean is set to false. This is important, because when the player hits the interact button, the blueprint will check to see if the player is within range of the chain. The rest of the blueprint only executes when the player is within range. The timeline here is being use to move both the chain and the rock. When the player interacts with the chain, the chain moves down slightly while the rock moves up. This makes it so the player has to make it all the way through before getting the final treasure, and gives them a quick way to leave once they beat the cave.
Key Takeaways:
Thinking Outside of the Box – Trying to figure out the stalactites coming down from the flipped landscape ceiling was really hard for me to figure out. I had tried researching online to see if other people had successfully done something similar, but I was struggling to find real answers. After a while, I got to a point where I was trying every possible thing I could think of. This idea of not giving up and to keep pursuing this difficult idea really paid off, and I am thankful that I spent the time trying to figure this one out.
Mimicking Mother Nature is no Easy Task – Artificial structures are really easy to reproduce. But trying to find a way to reproduce nature was a long and hard process. Because caves specifically are formed by a combination of water pressure, there is a smooth but sometimes sharp feature to the walls and floors. Continuously looking at reference material and spending my time sculpting with the landscape tool really helped me put this cave together in the most natural way.
Importance of Balancing – Because the enemies and the character were a part of the same asset pack, adjusting the variables such as health, damage, mana, etc. was pretty easy. However, making sure different attacks had a reasonable amount of damage in relation to health was a tedious but necessary task. Some of the stronger attacks, like fire explosion, dealt as much damage as the fireball did. This seemed silly, because the fireball took less mana and was much faster to cast. Changes like this, as well as the countless others I made, were necessary for ensuring a balanced experience for the player.

You must be logged in to post a comment.